Preparation
- Ameba x 1
- Led x 1
Example
- Introduction
Amazon AWS IoT is a cloud IoT service platform: - AWS IoT is a platform that enables you to connect devices to AWS Services and other devices, secure data and interactions, process and act upon device data, and enable applications to interact with devices even when they are offline.(from https://aws.amazon.com/iot/how-it-works/)The service architecture of AWS IoT:
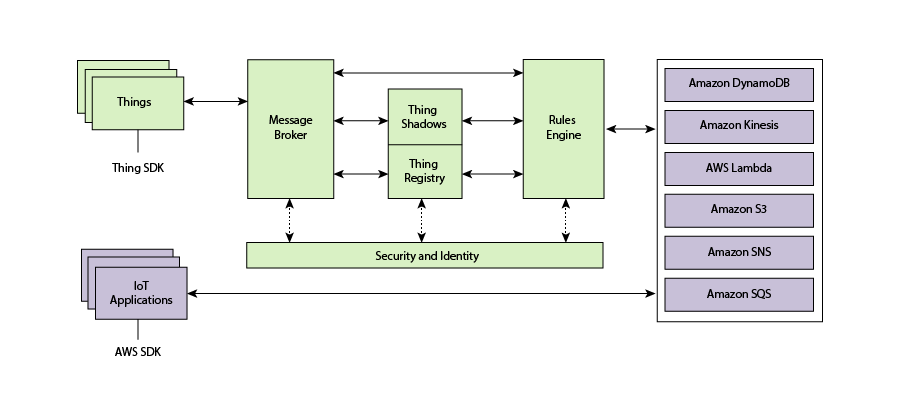
(Picture from http://docs.aws.amazon.com/iot/latest/developerguide/aws-iot-how-it-works.html)In the architecture, Ameba belongs to the upper-left “Things” block. A TLS secure channel will be established between “Things” and the MQTT Message Broker. Afterwards, “Things” and “Message Broker” communicate using MQTT Protocol via this secure channel. Behind the “Message Broker”, the “Thing Shadows” keeps messages temporarily when Ameba is offline, and sends the control message to Ameba next time it is connected. The “Rules Engine” allows you to place restrictions to the behavior of Things or to connect Things to other services of Amazon.
- AWS Management Console
First, create an account and sign up for AWS IoT service: https://aws.amazon.com/
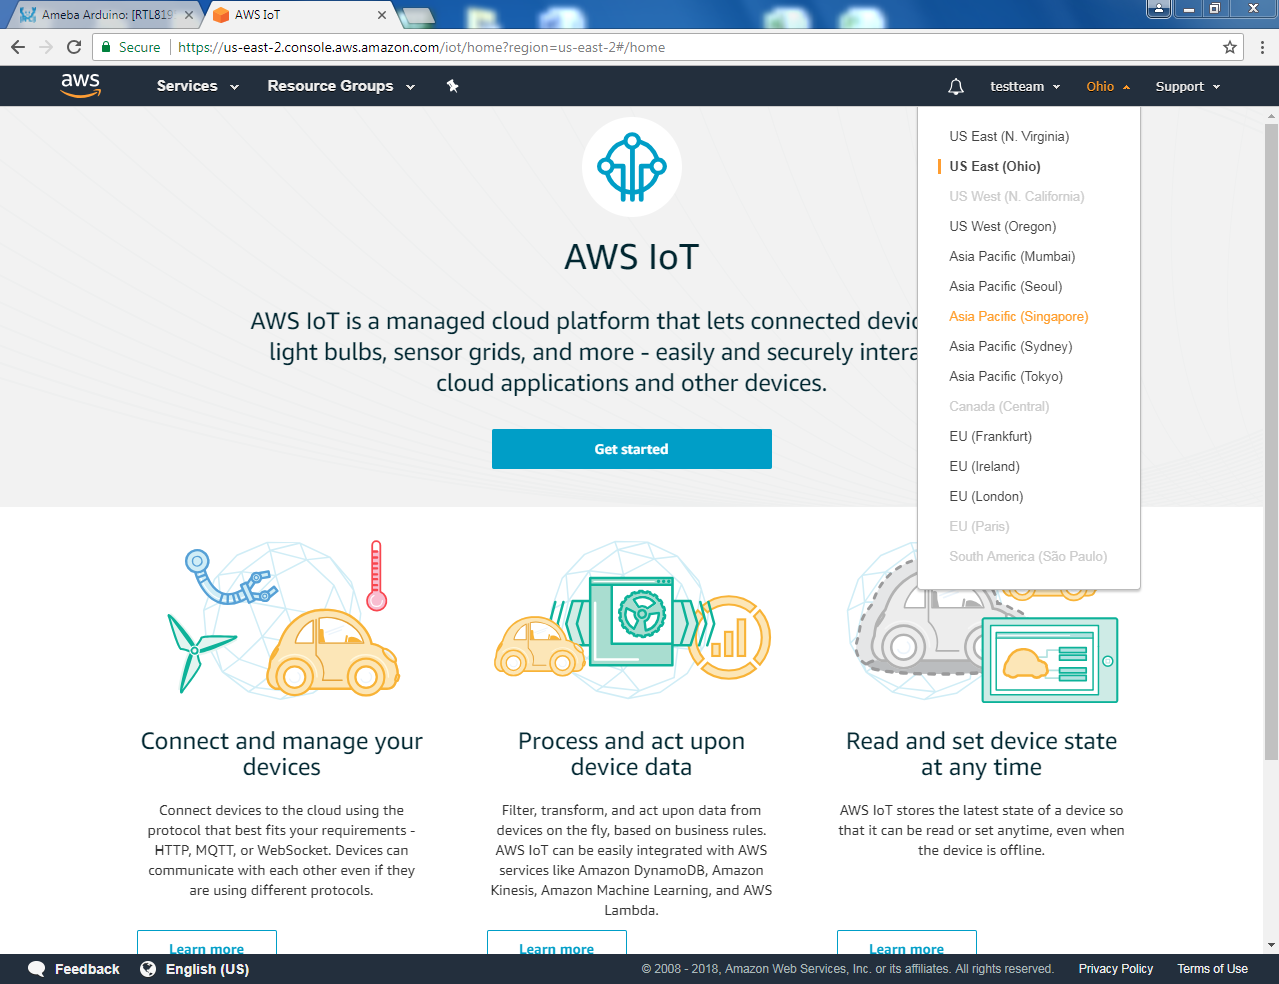
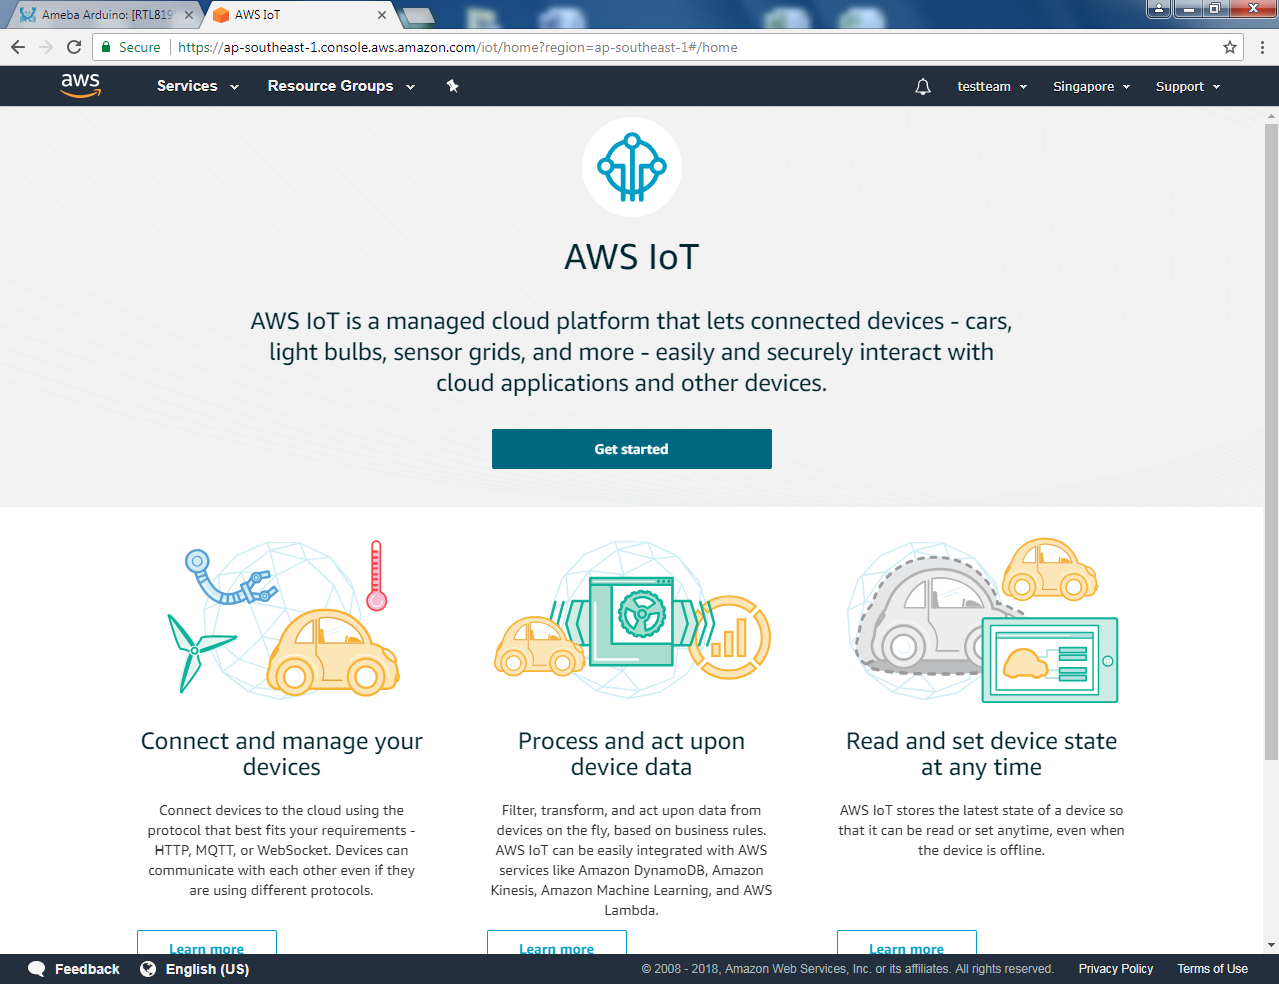
Afterwards, log in to the Amazon Management Console and click “IoT Core”.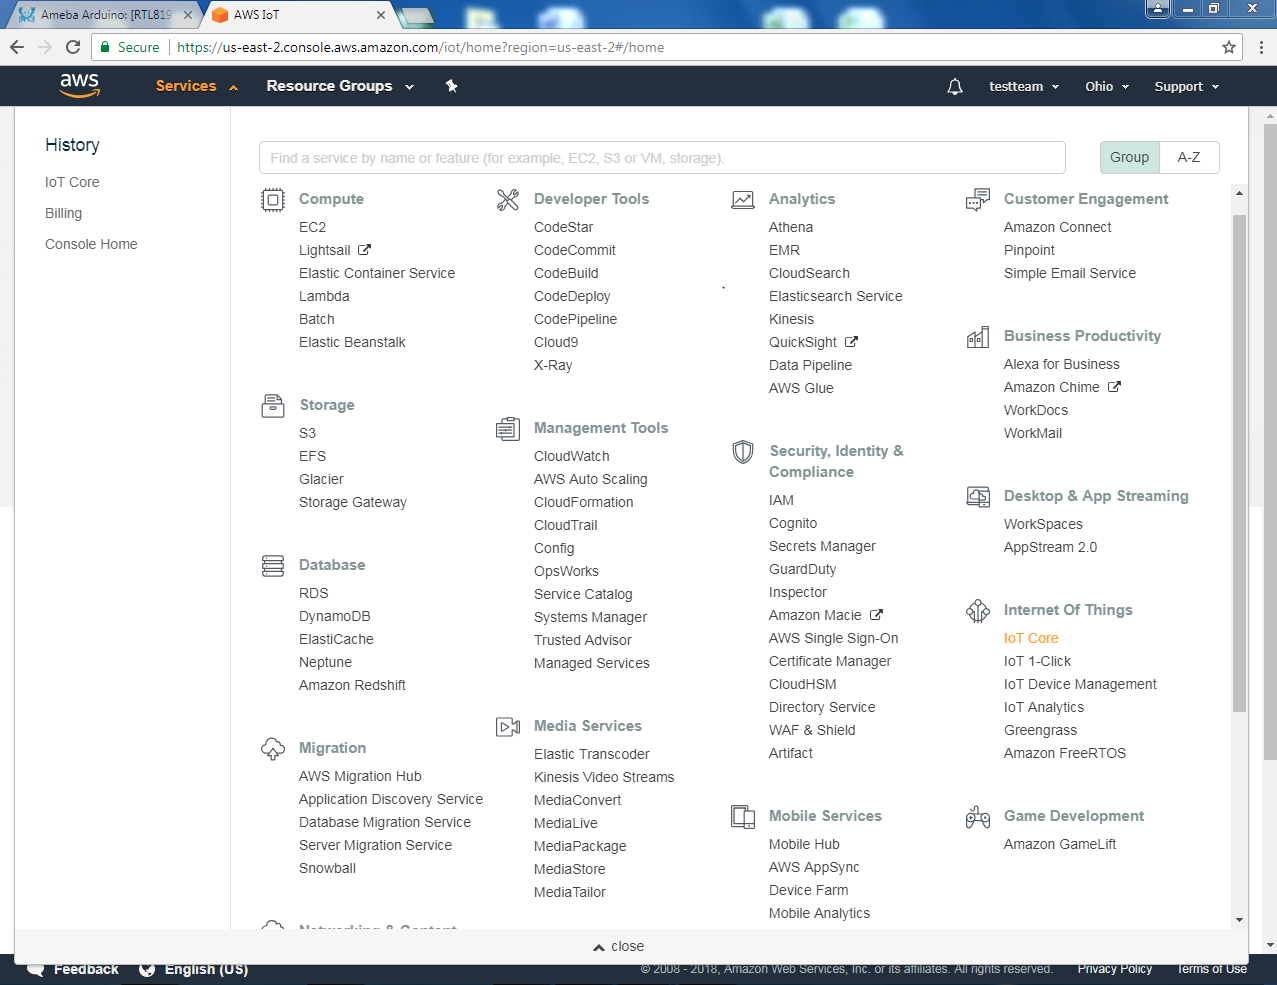 Then you will enter the home page of AWS IoT. To offer the best service quality, Amazon offers servers in different regions for users to choose from. Click the region dropdown menu at the upper-right:
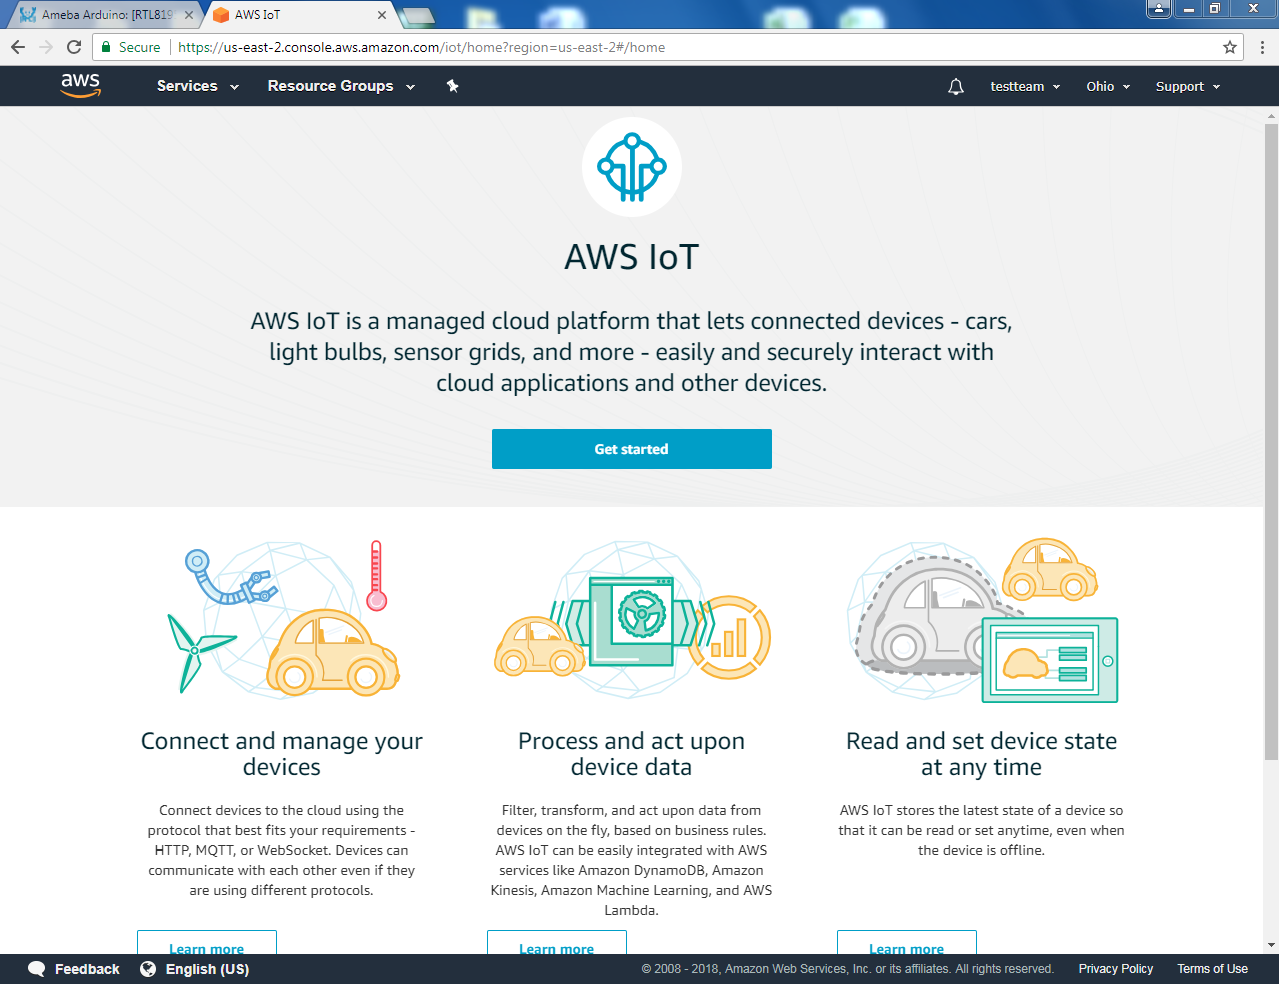
Choose a nearby region.
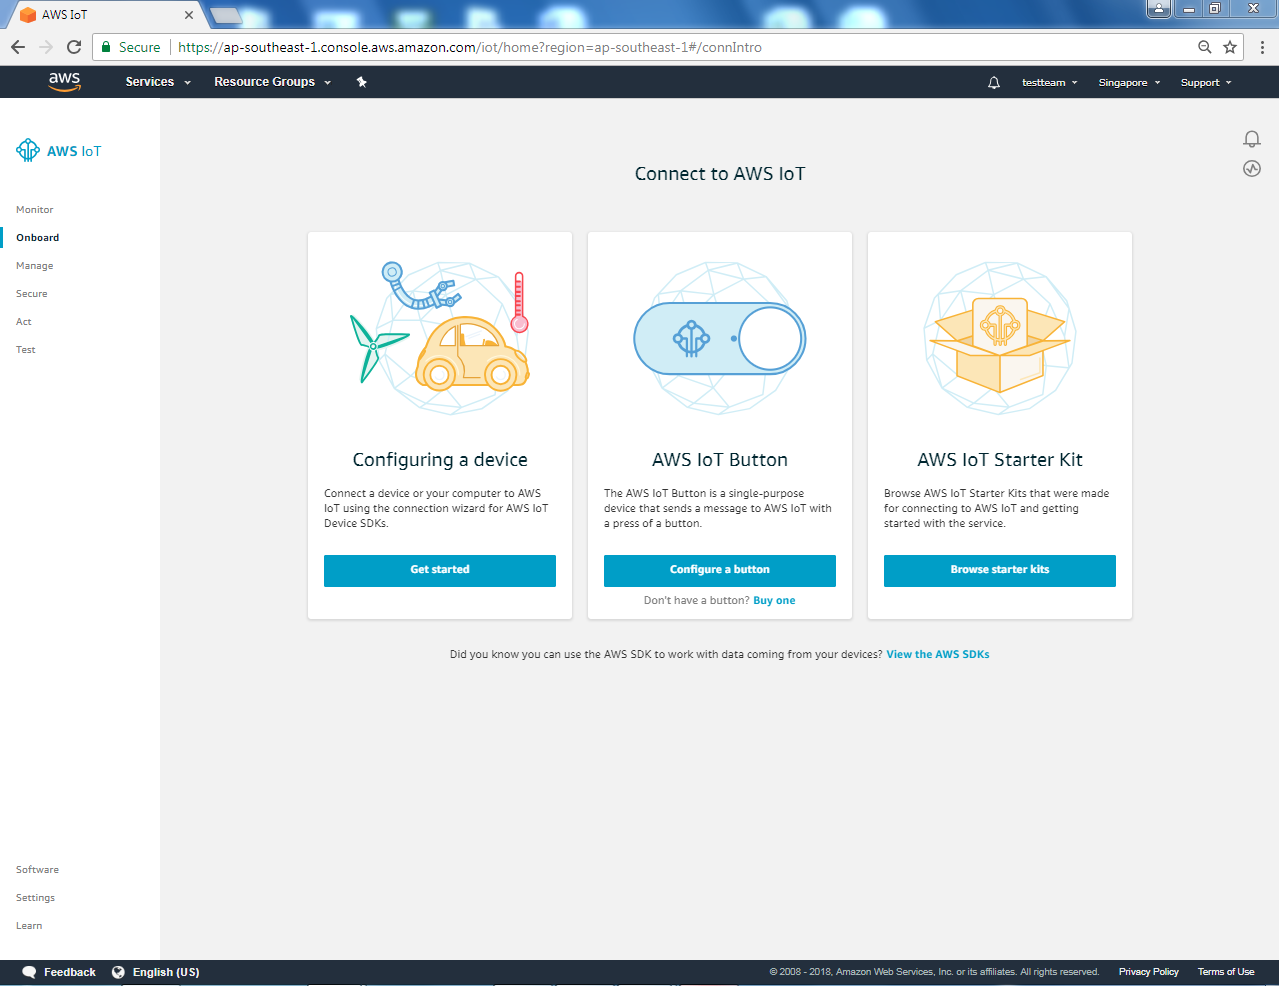
Then click “Get started”
Enter the main page of AWS IoT
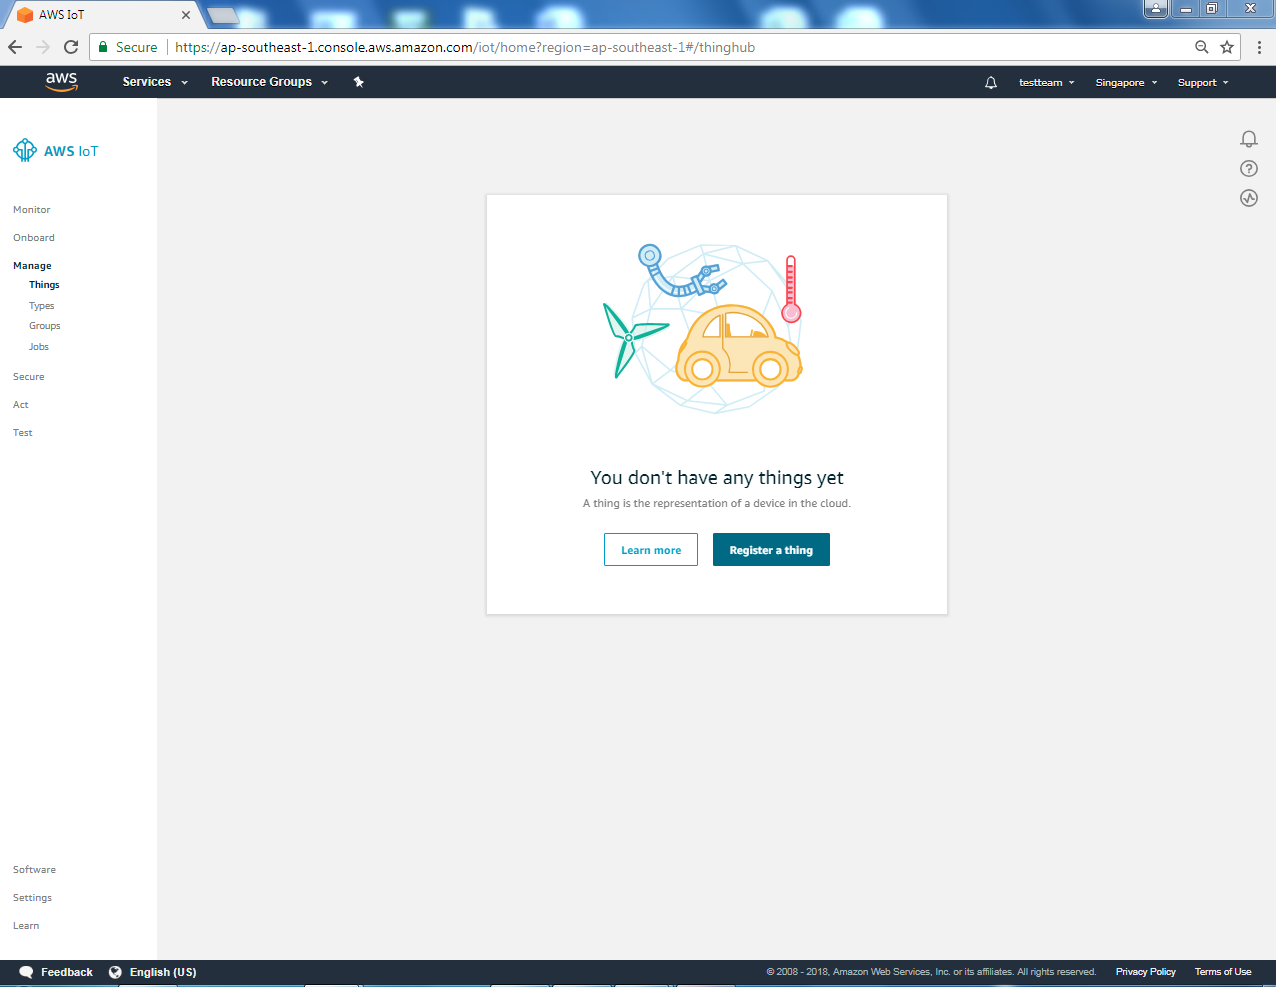
There is an item “Things” under the field “Manage” on the left. Choose it and click “Register a thing”
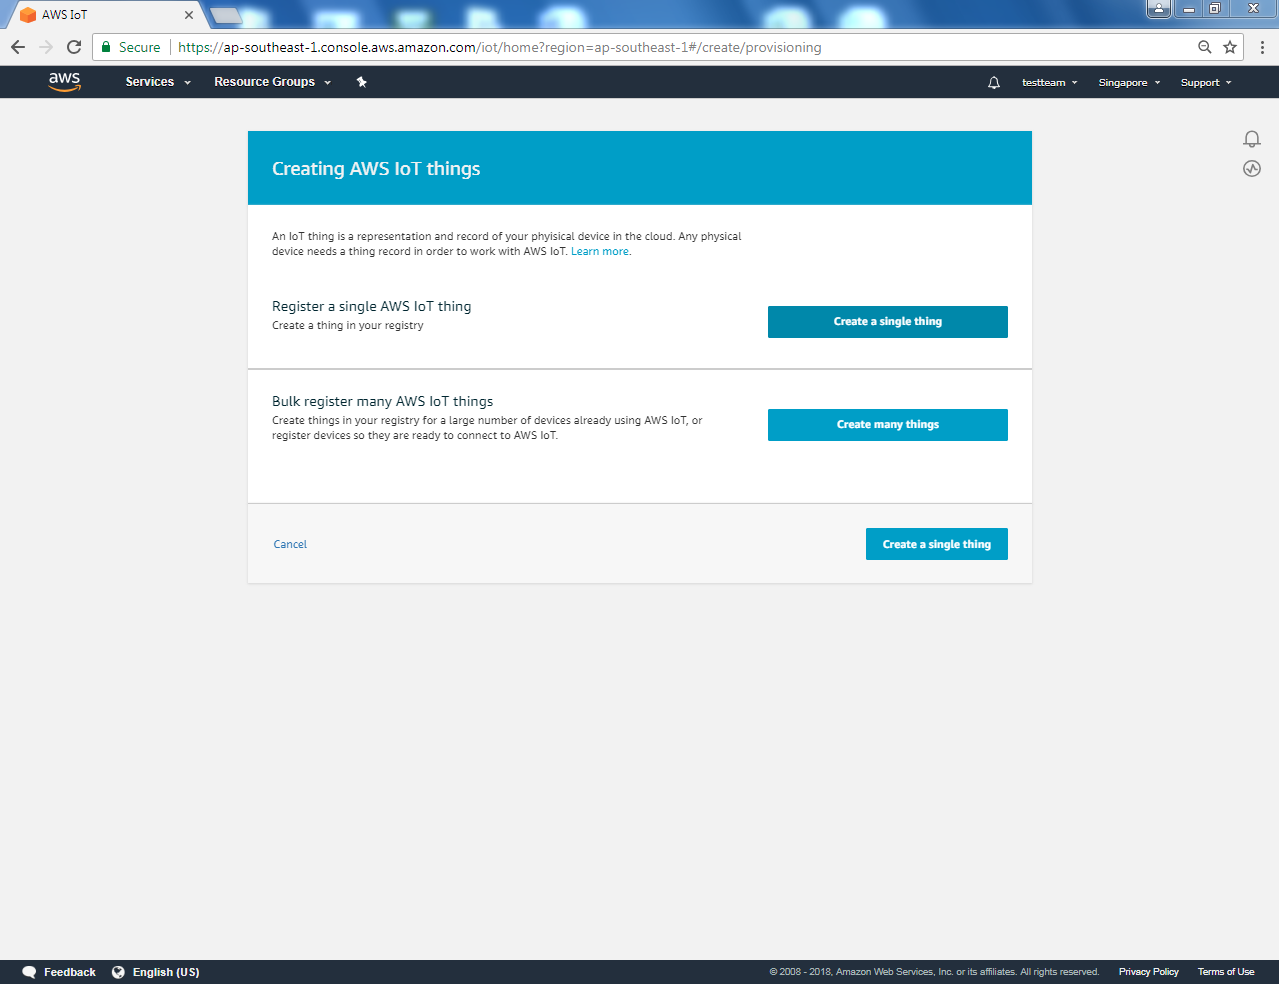
Enter the next page and click “Create a single thing”
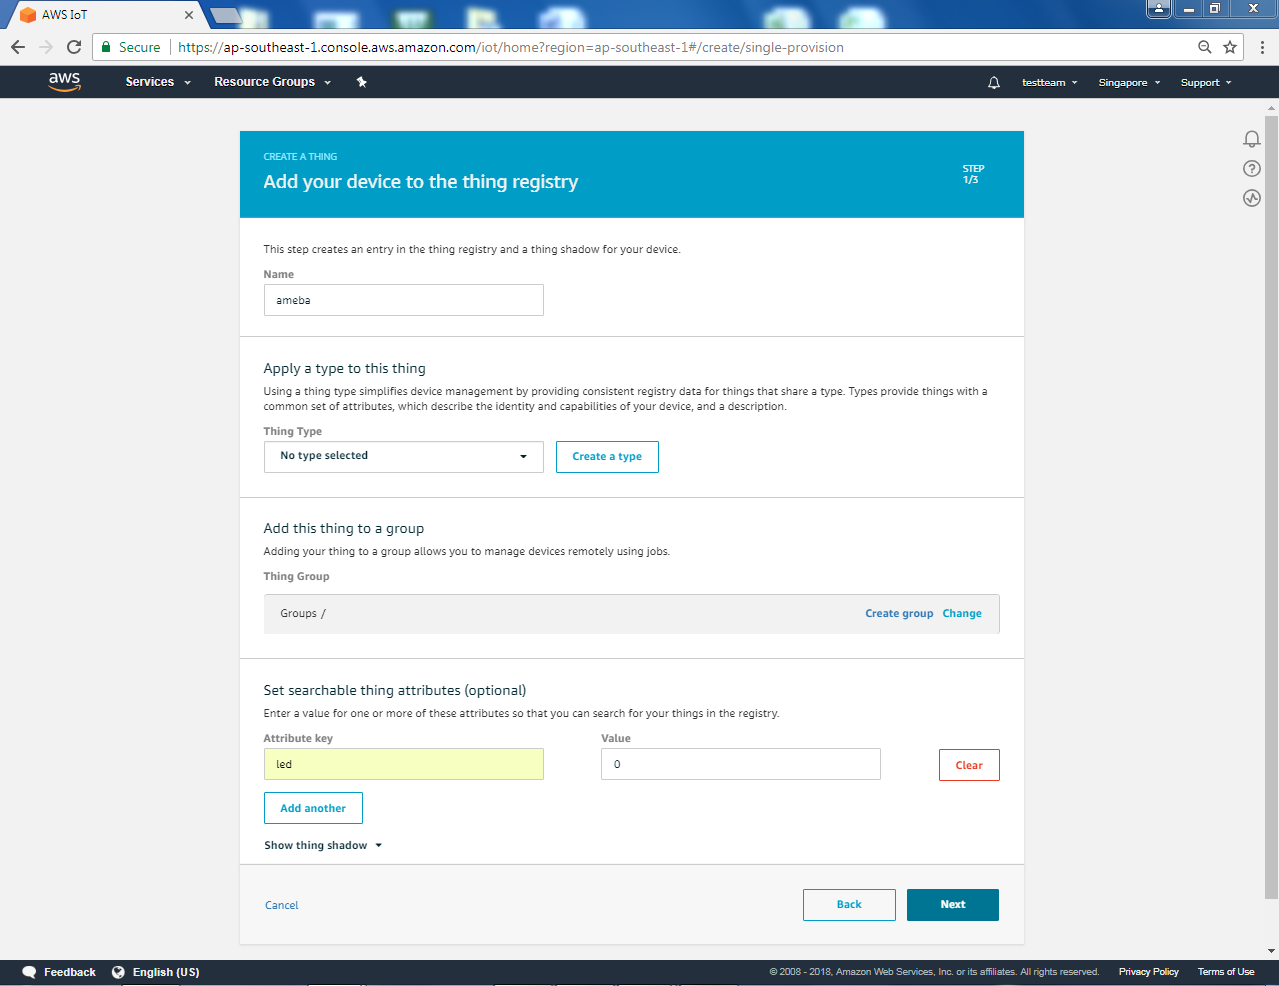
We fill in “ameba” on the Name field. Attributes represent the status of ameba. The value of the attributes can be updated directly by ameba or by the control side and the control side can request ameba to set the attribute to the desired value.
Here we add an attribute named “led” with the value “0”, and click “Next”.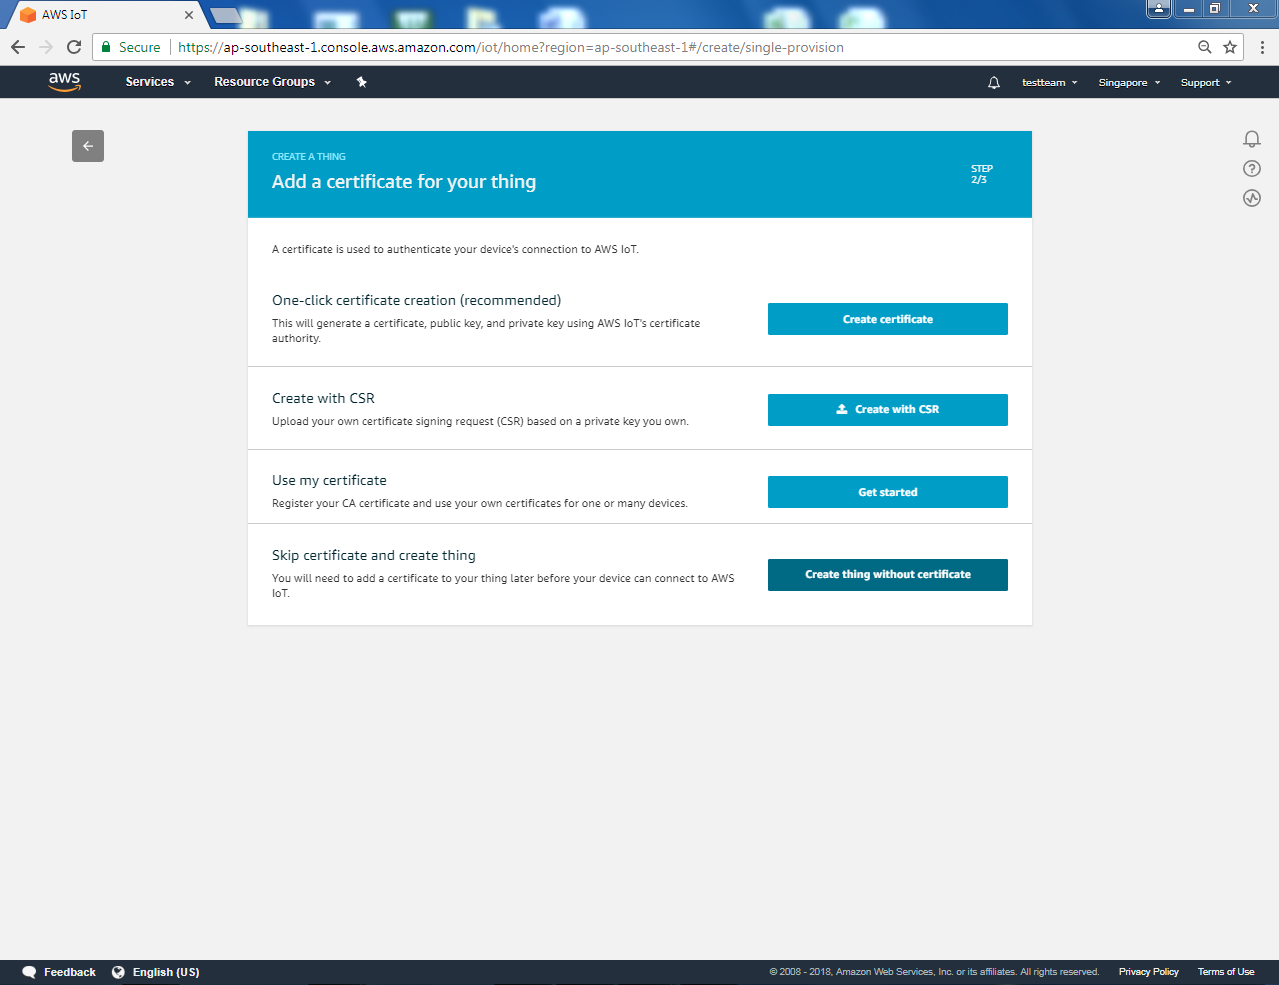
Click “Create thing without a certificate” and enter the next page
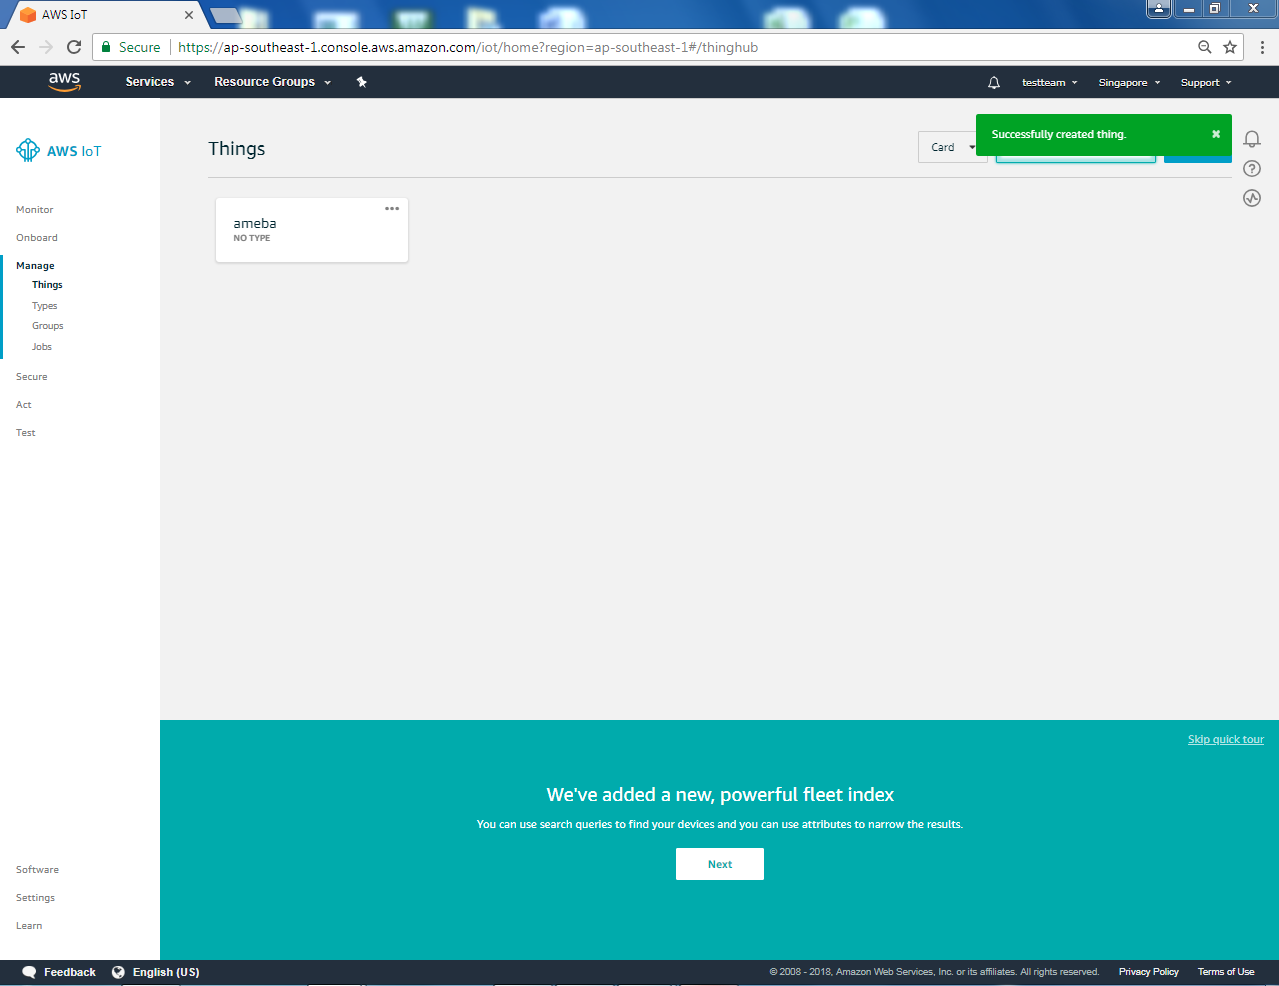
Then we can see that a thing named “ameba” was successfully created.
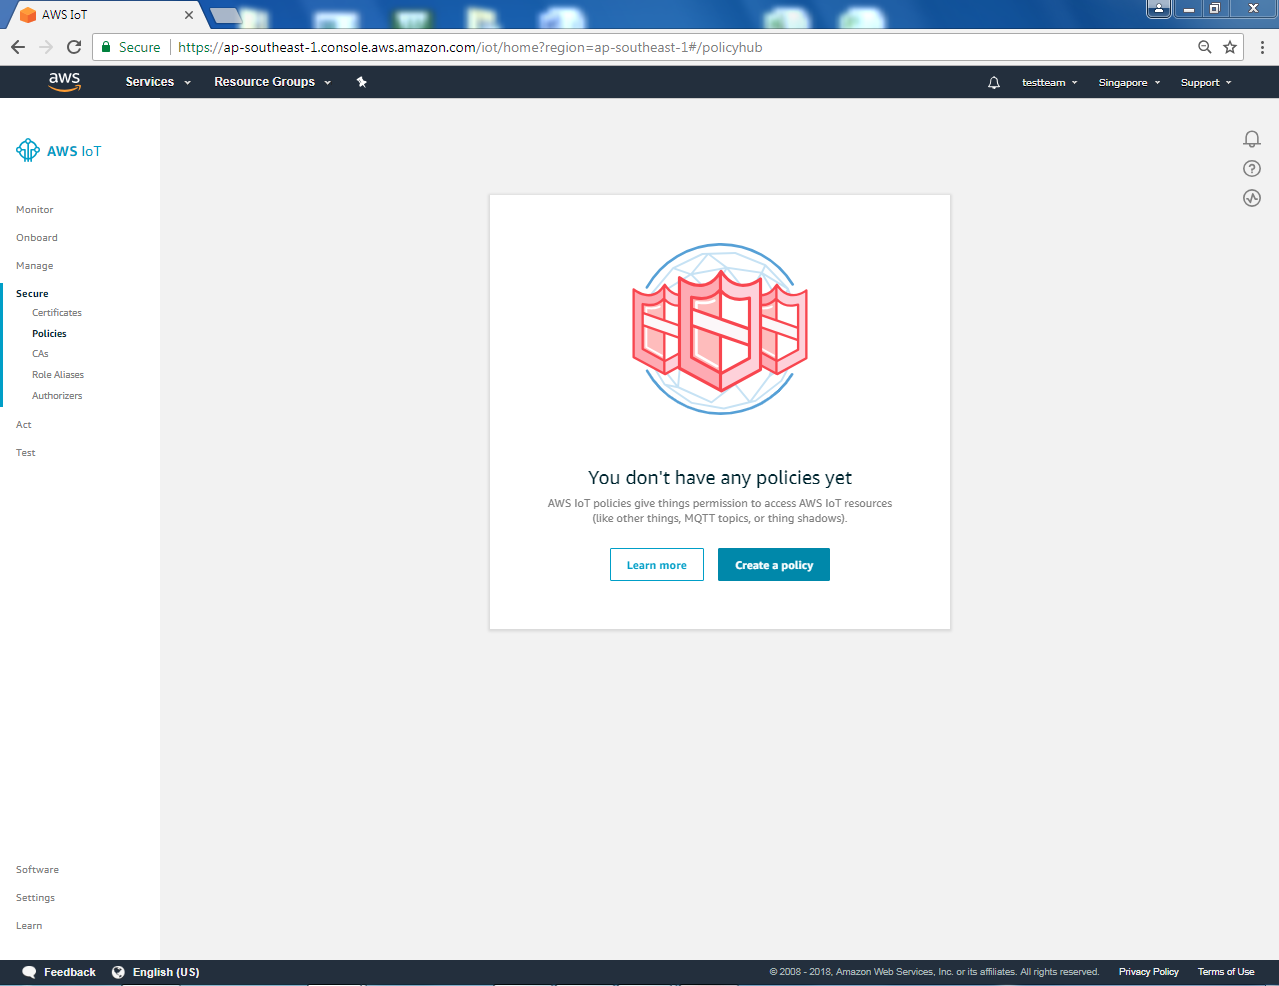
Click field Secure “Policies” on the left and click “Create a policy”
Policy is used to restrict the functions that a “thing” can do, it can limit the MQTT actions or specific topic that can be performed. Learn more about policy:
http://docs.aws.amazon.com/iot/latest/developerguide/authorization.html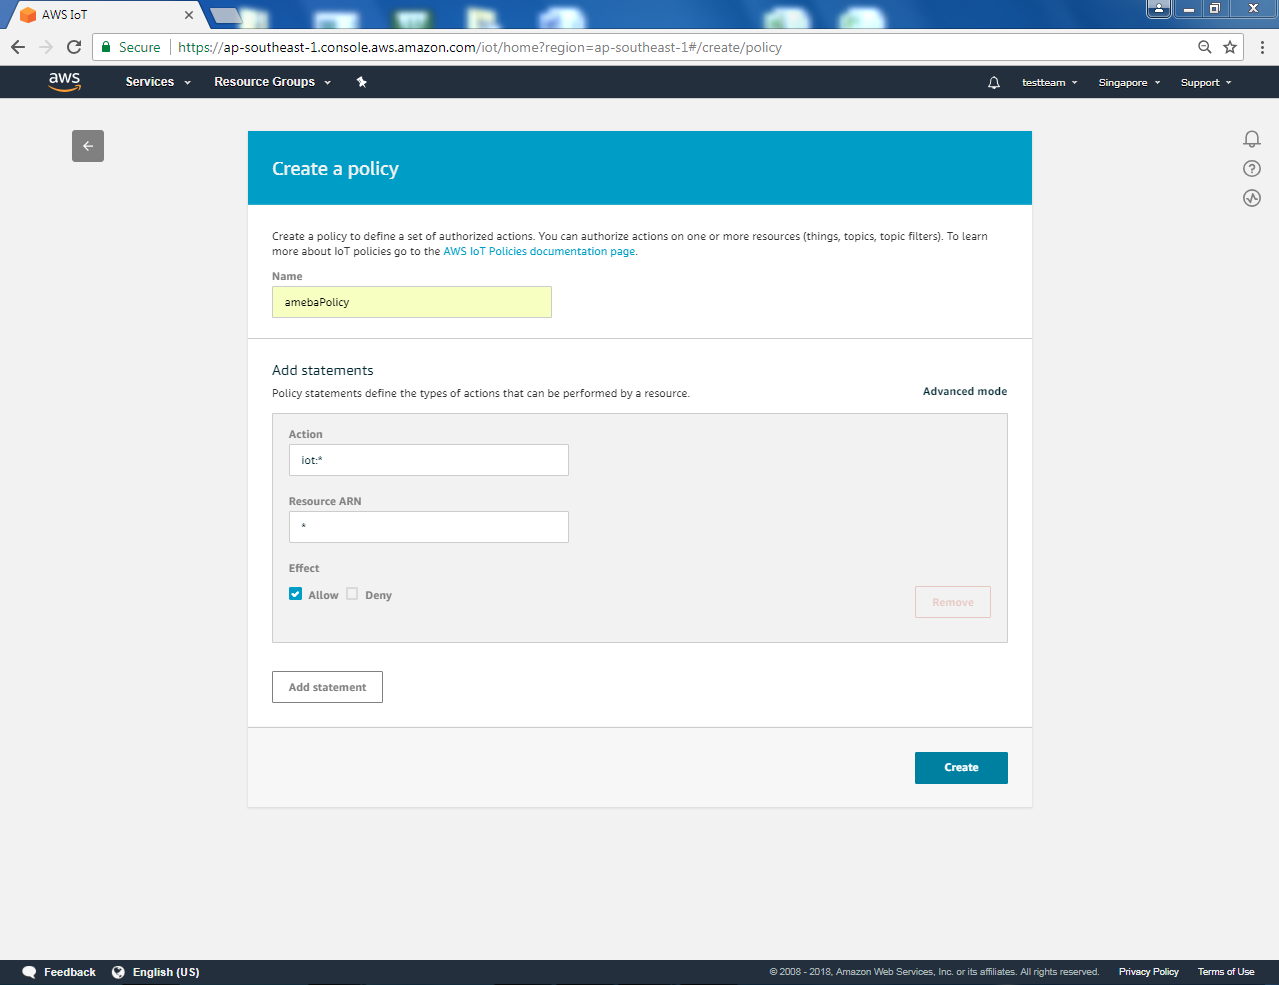
Here we do not place the policy on ameba. Fill in “amebaPolicy” in the Name field, “iot:*” in the Action field and “*” in Resources field. Then check “Allow”. Finally, click “Create”.
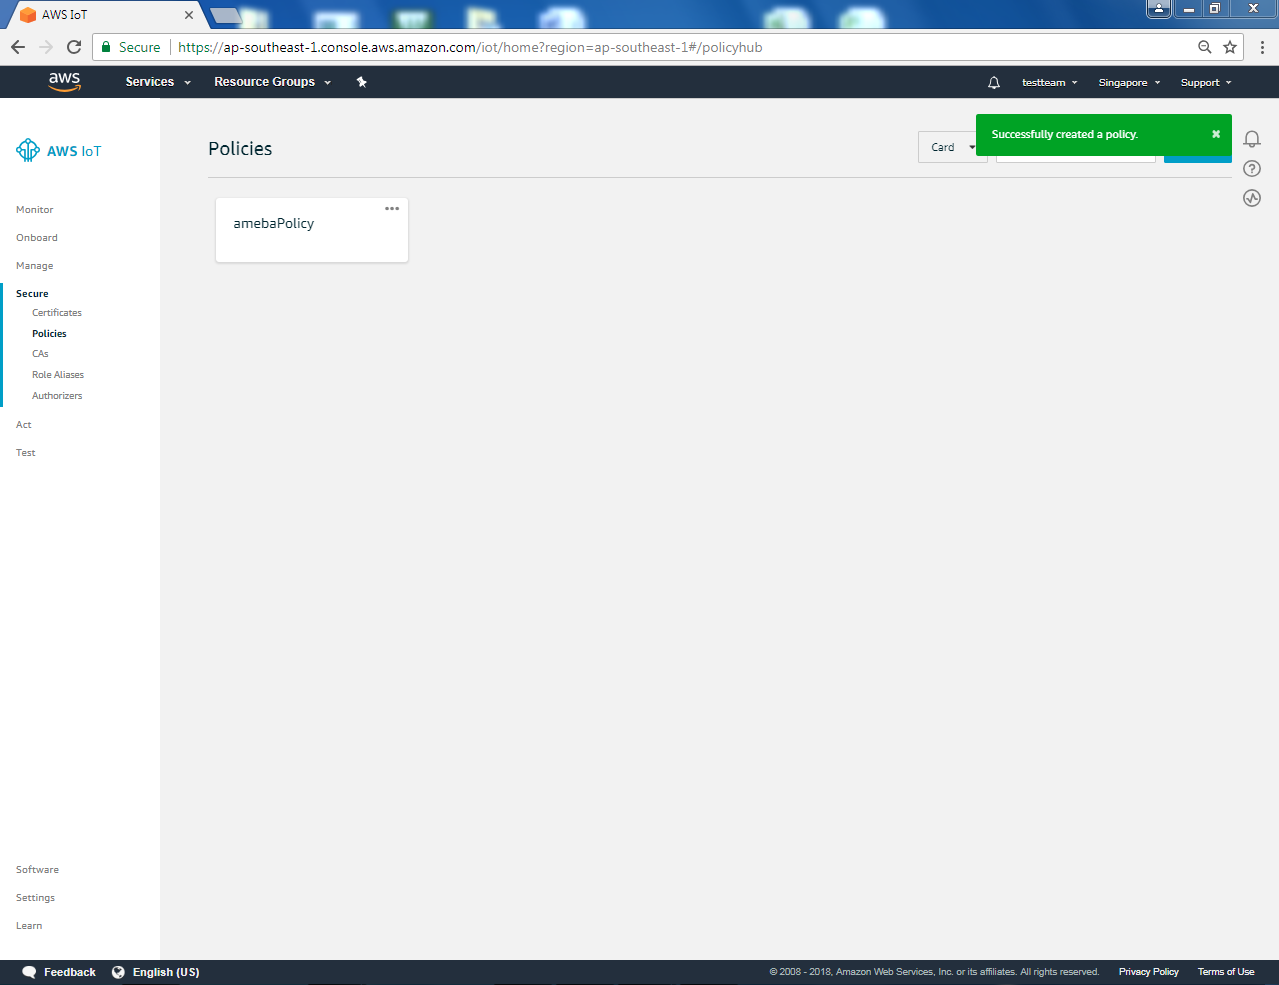
Finish the Policy setting:
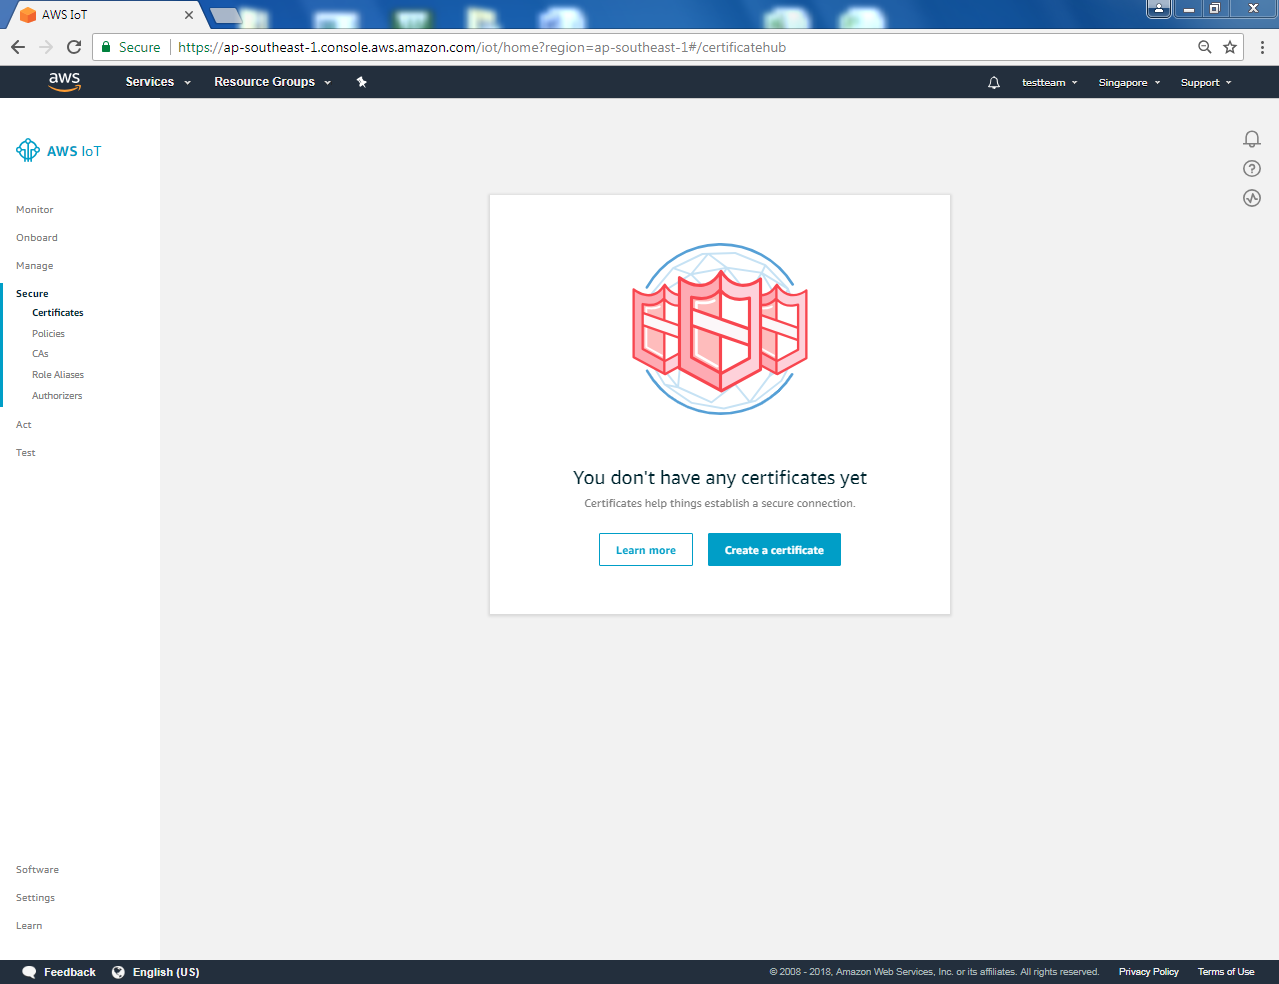
Next, we have to set up the TLS certificate. Click “Create a certificate”. Click ”Secure-> certificates” on the left and click “Create a certificate” on the right.
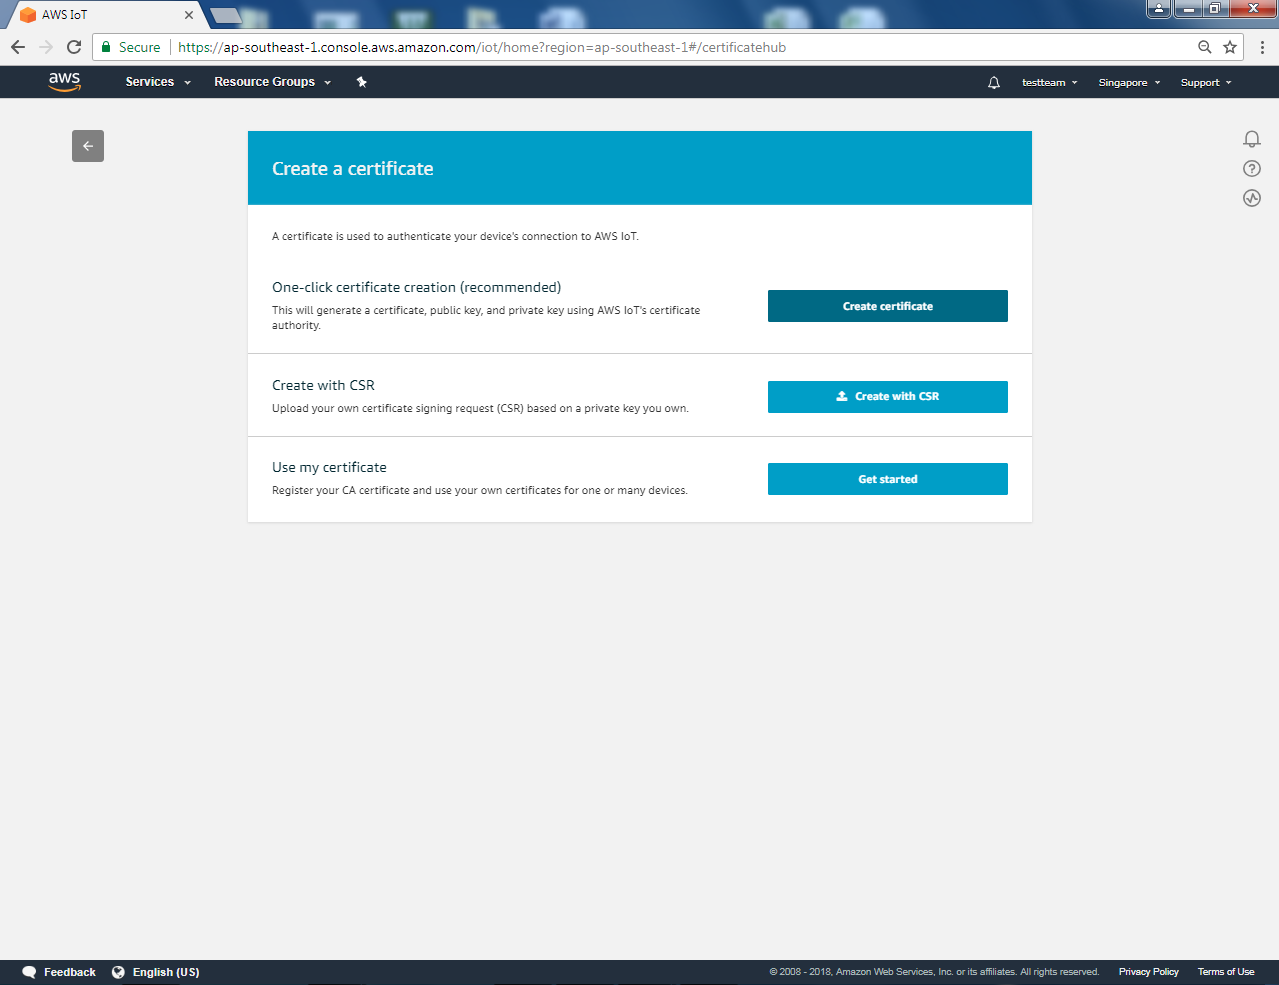
You can choose to use user-defined certificate or generate a certificate by AWS IoT. In this example we click “1-Click certificate create” to generate a TLS certificate.
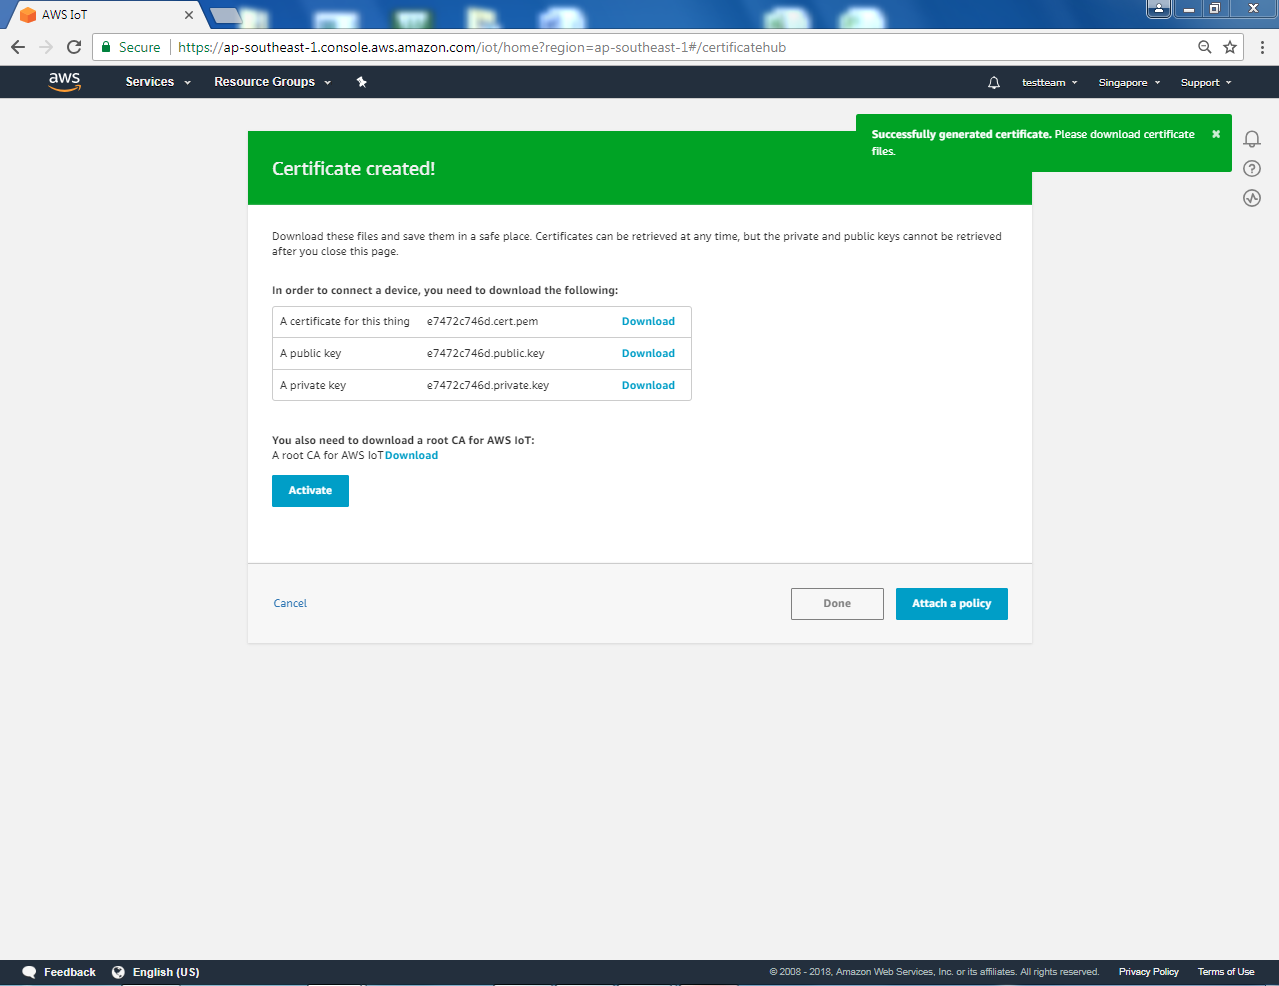
Then, you can see 4 links. Please click each of the 4 links to download “public key”, “private key”, “certificate” and “rootCA”.
After downloading the 4 files, click “Done” and go back to certificates main page.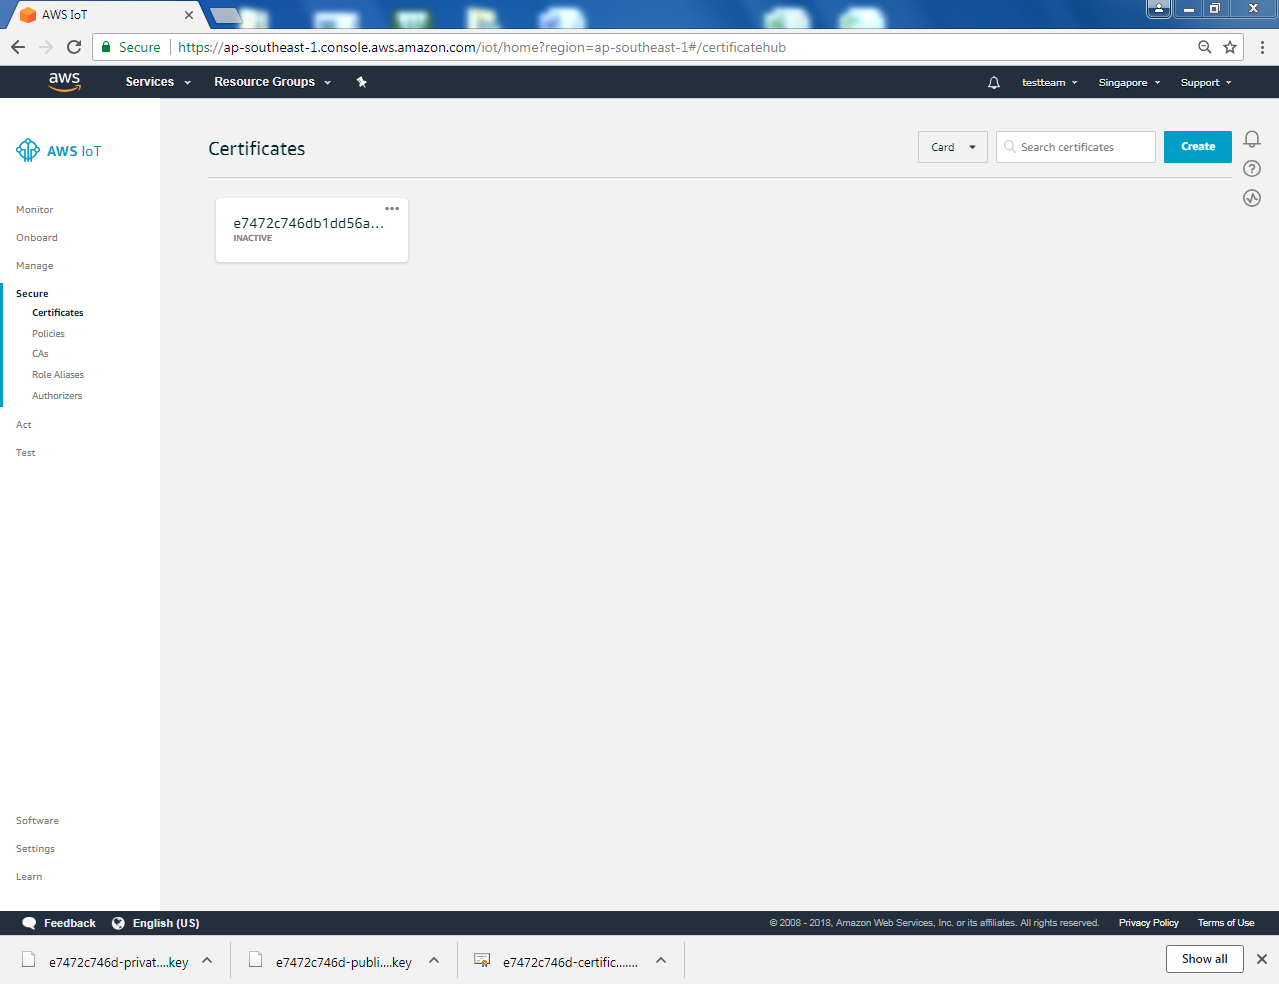
Click “Attach a policy” in the “Actions” dropdown menu.

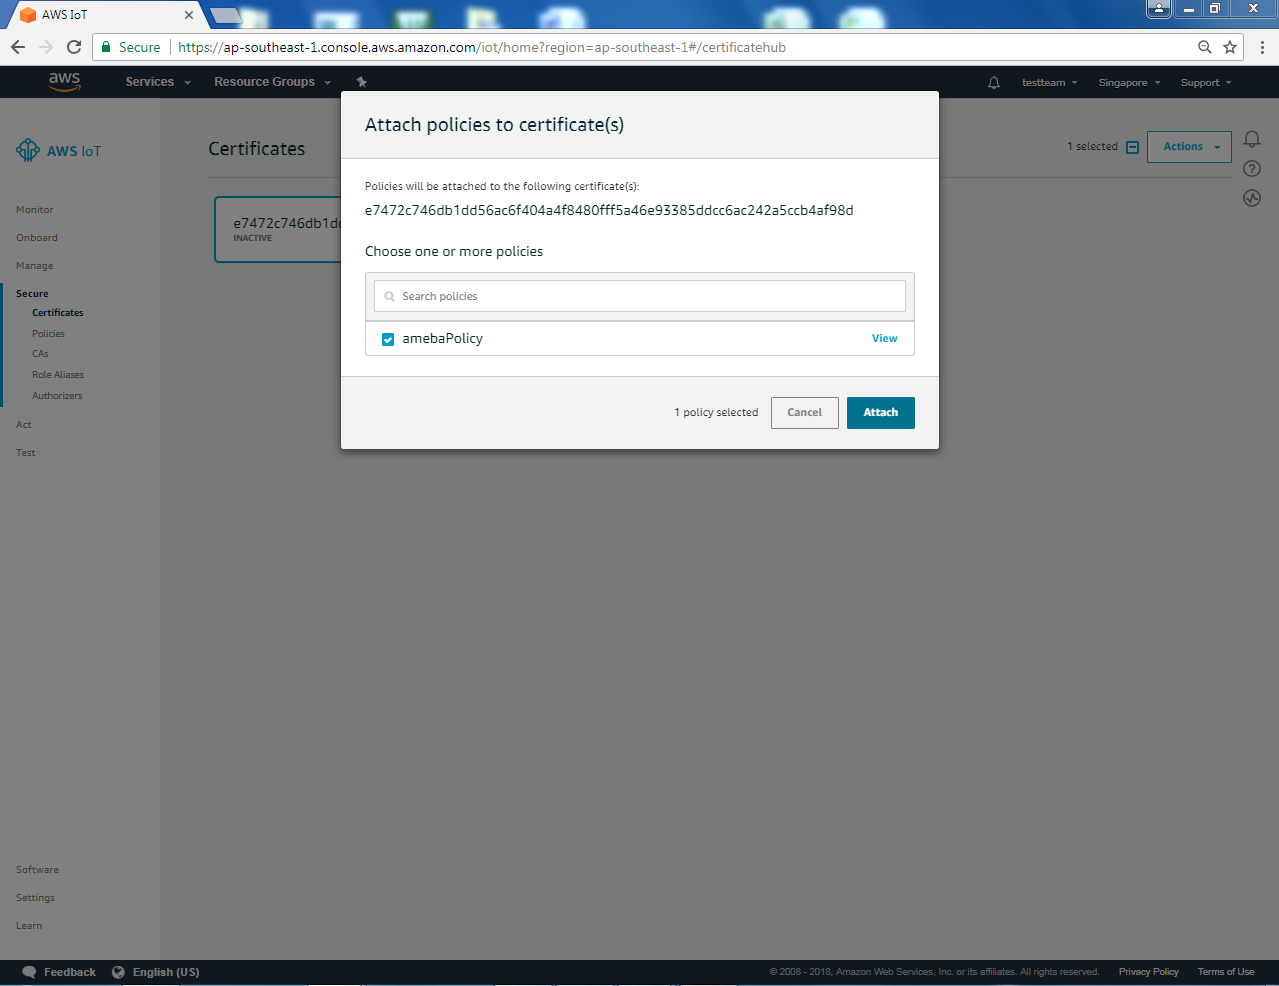
Choose “AmebaPolicy” and click “Attach”
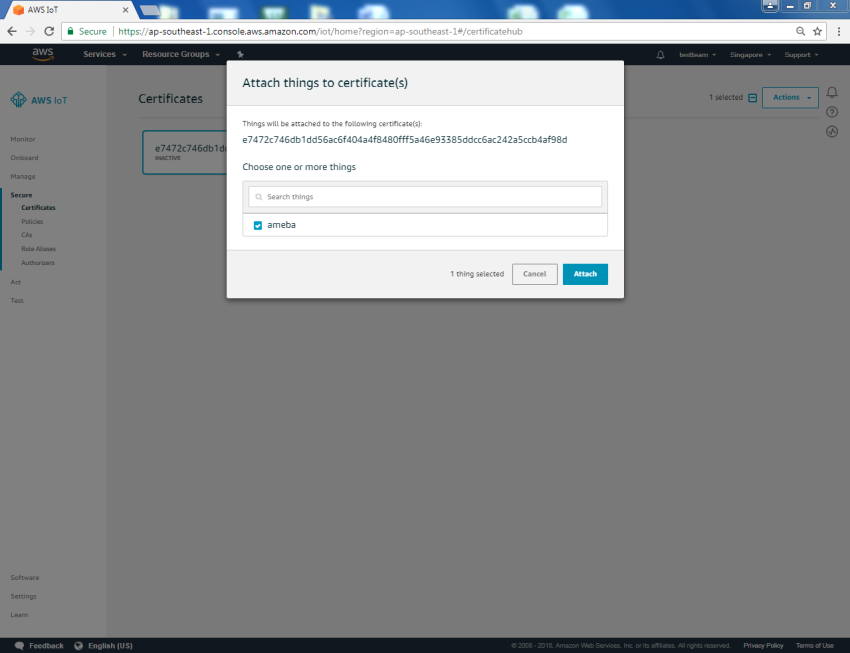
Then go back to the “Actions” drop-down menu at the top right of the certificates homepage, click on “Attach thing”, select the thing “ameba” you just created when the window below appears, then click on “Attach”
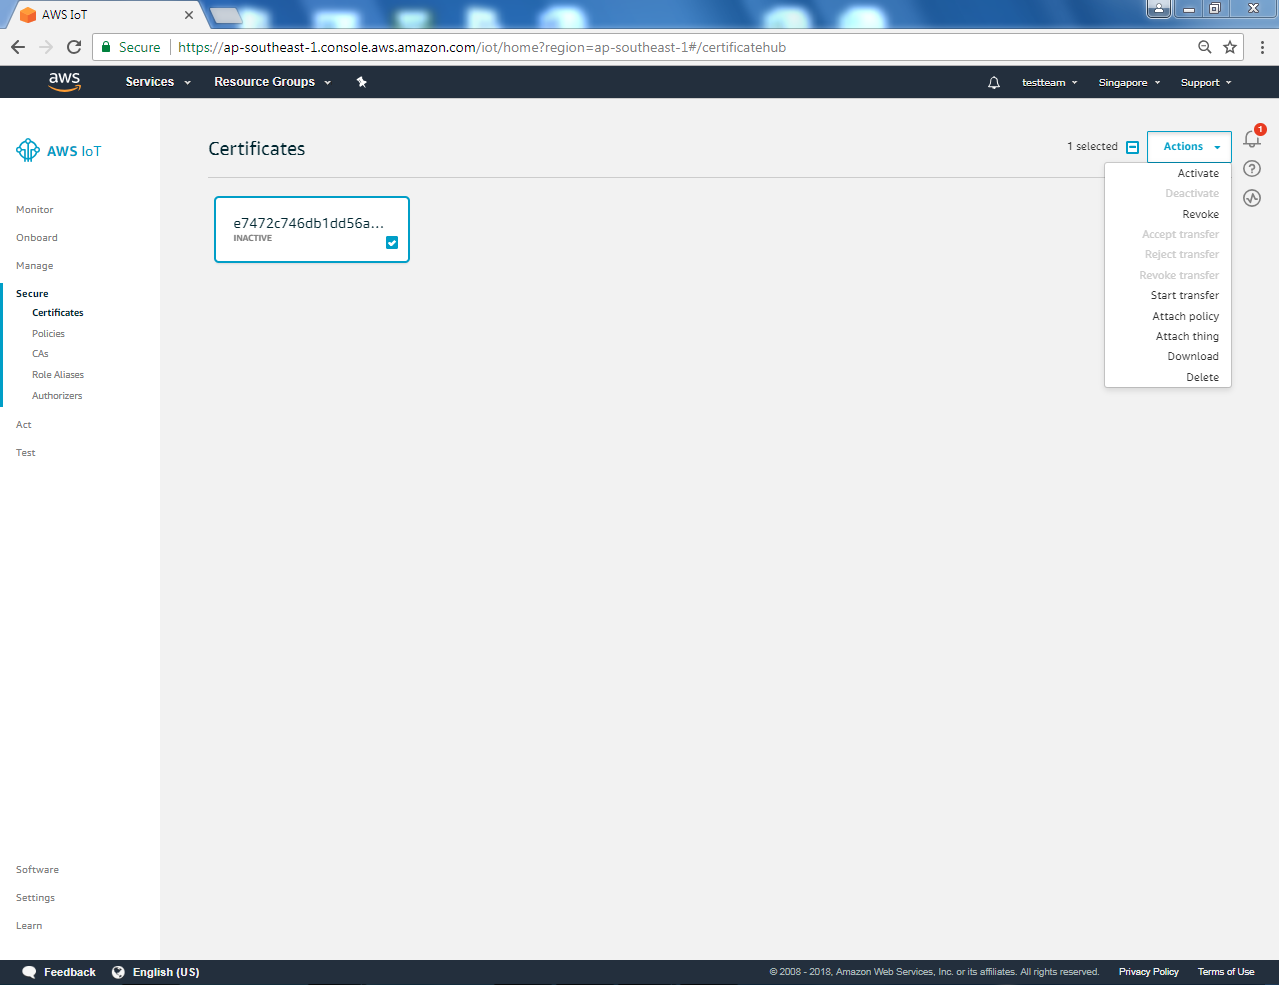
Then activate the certificate. Go back to the certificates main page and click certificate, and click “Activate” in the “Actions” dropdown menu.
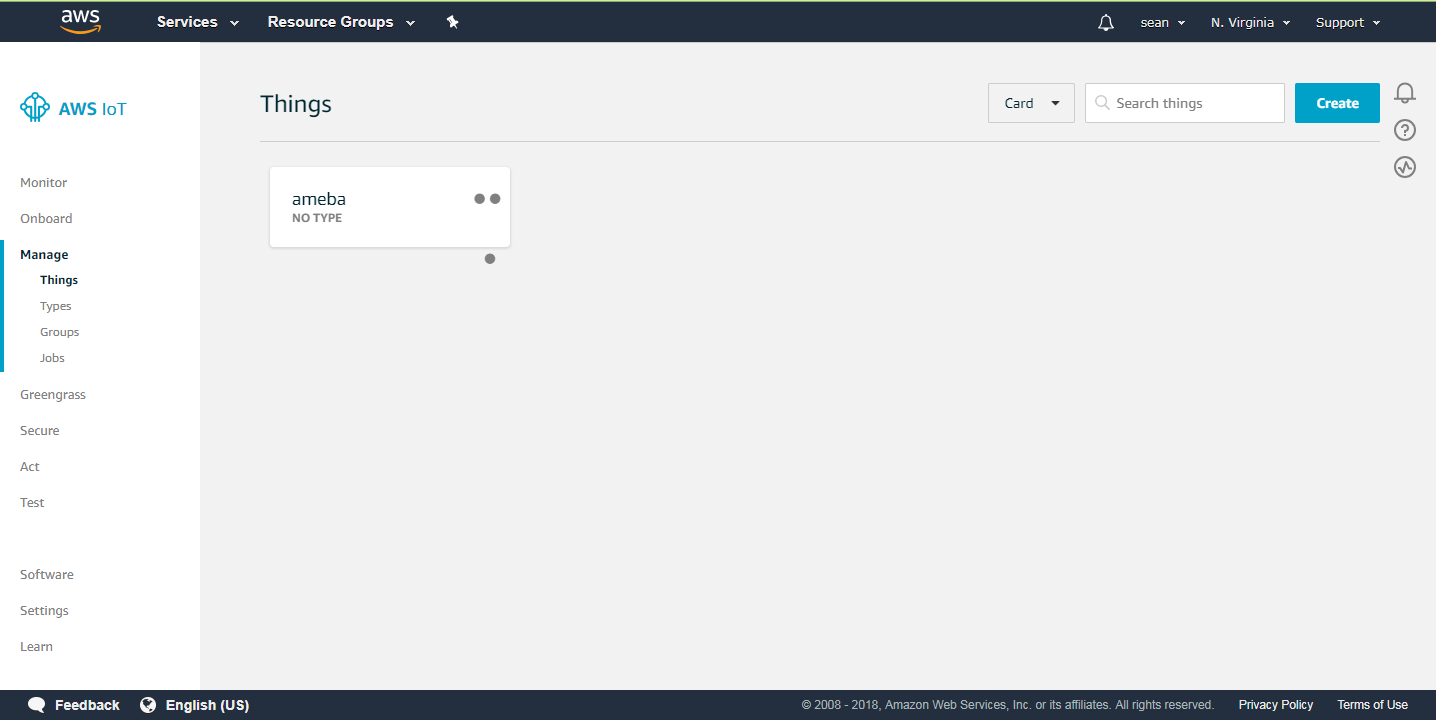
Go back to the filed on the left, choose ”Manage->Things” and click ameba thing we created.
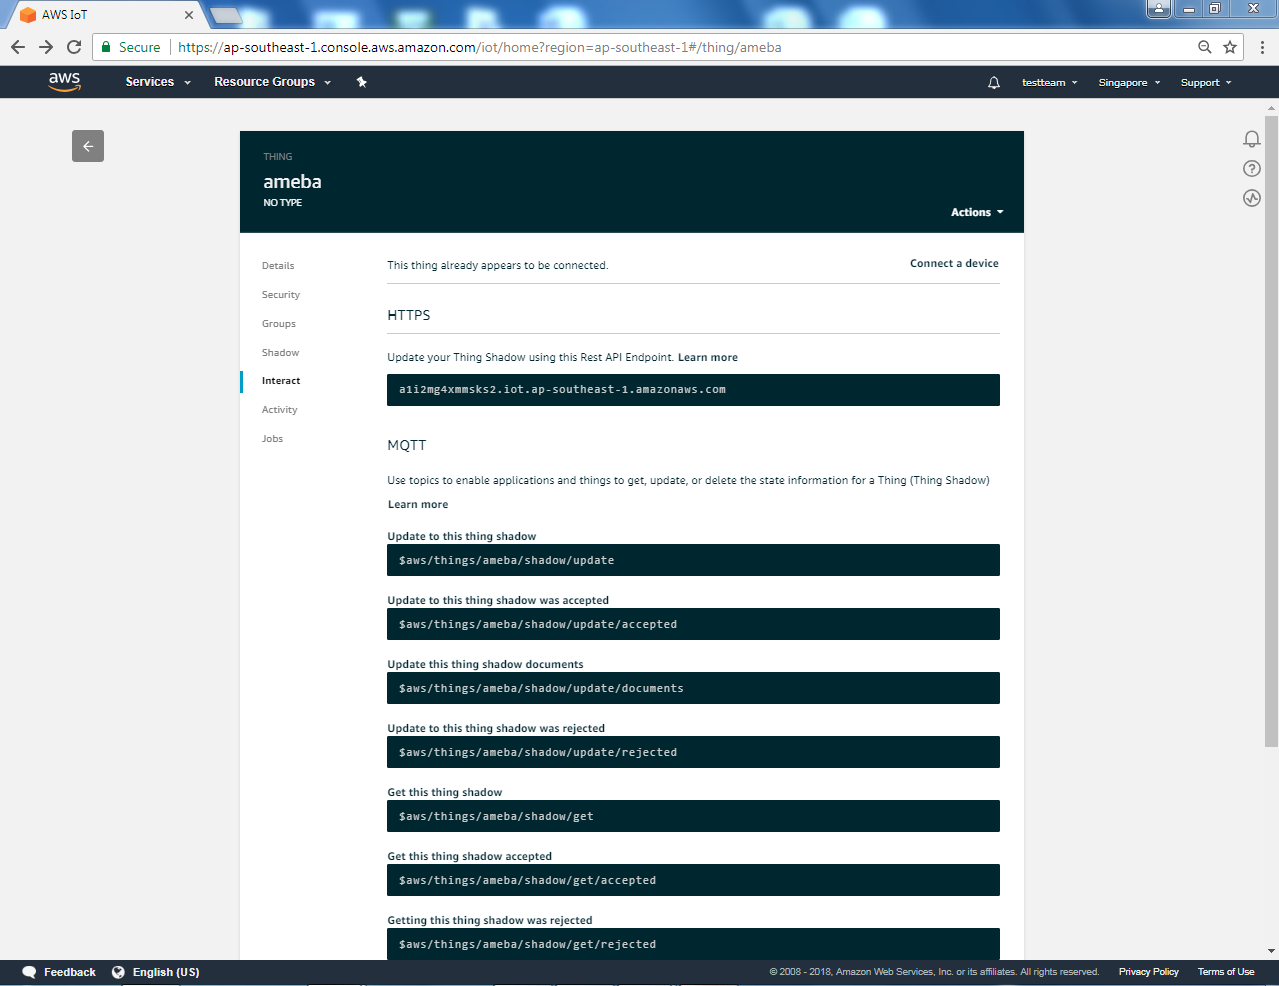
Enter ameba thing page, choose “Interact” on the left. Find out the information of Rest API Endpoint to set Amazon Alexa:
— REST API endpoint: In the value “https://a1a7oo4baosgyy.iot.us-east-1.amazonaws.com/things/ameba/shadow”, the part “a1a7oo4baosgyy.iot.us-east-1.amazonaws.com” is the MQTT Broker server address.
— MQTT topic:The value “$aws/things/ameba/shadow/update” represents the MQTT topic we will use in the AWS IoT Shadow service (if we use MQTT only, without AWS IoT Shadow service, then we can specify other topic name). It is recommended to use “$aws/things/ameba/shadow/update” here. - Ameba setting
Open “File” -> “Examples” -> “AmebaMQTTClient” -> “amazon_awsiot_basic”
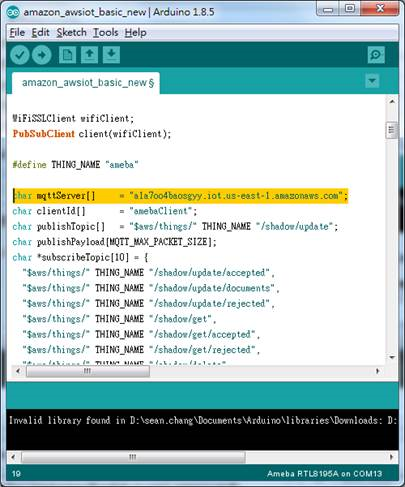
First fill in the network ssid and password for connection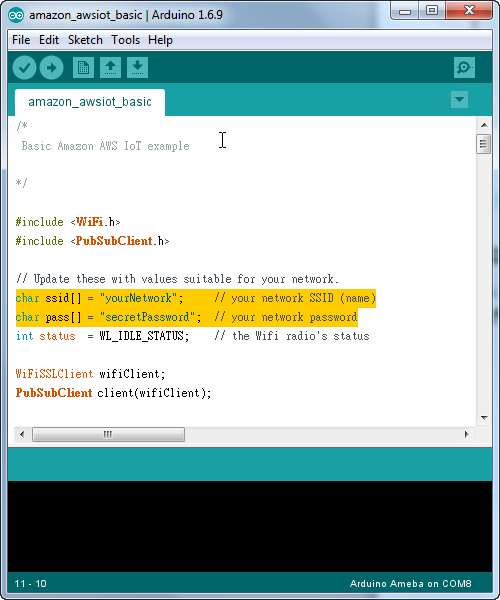 Then fill in the “thing” name “ameba”.
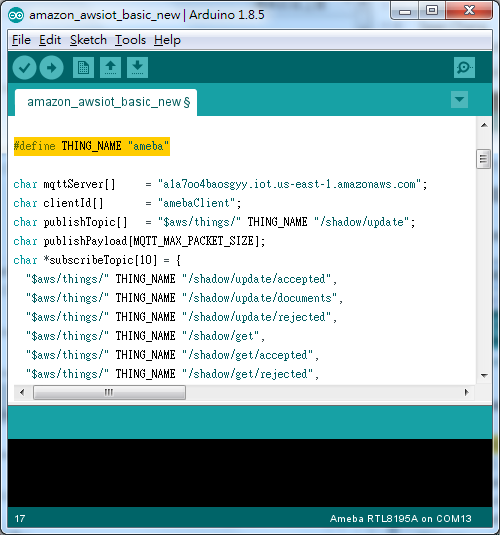
And the MQTT Broker server address we found earlier in AWS IoT: “a2zweh2b7yb784.iot.ap-southeast-1.amazonaws.com“
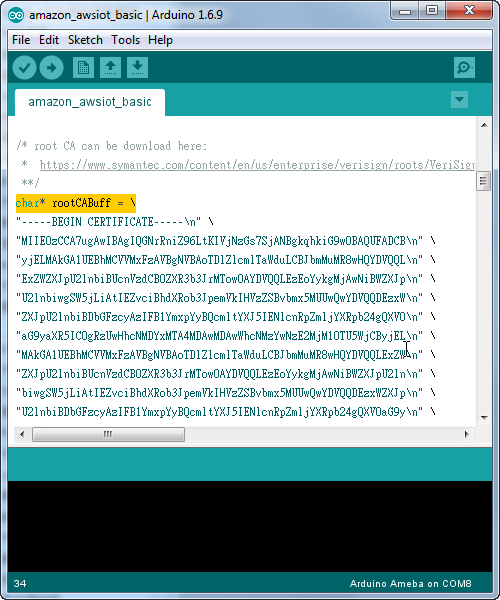
Next, fill in the root CA used in TLS. Download and make sure the downloaded root CA content conforms to the root CA we used in sketch.
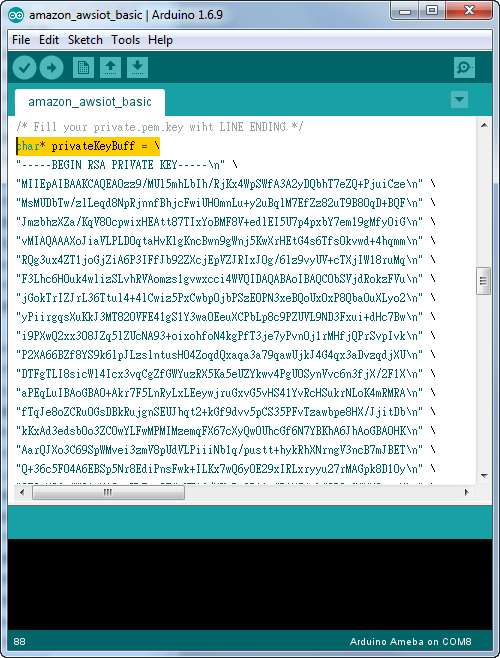
Next, fill in the certificate we created in the AWS IoT Console (i.e., client certificate), usually its file name ends with “-certificate.pem.crt” (e.g., “efae24a533-certificate.pem.crt”). Open the certificate with a text editor, and adjust its format as follows to use in the sketch:
– Add the new line character “\n” at the end of each line.
– Add double-quote at the beginning and the end of each line.
– To concatenate each line as a string, add “\” at the end of each line.
– The last line ends with semicolon.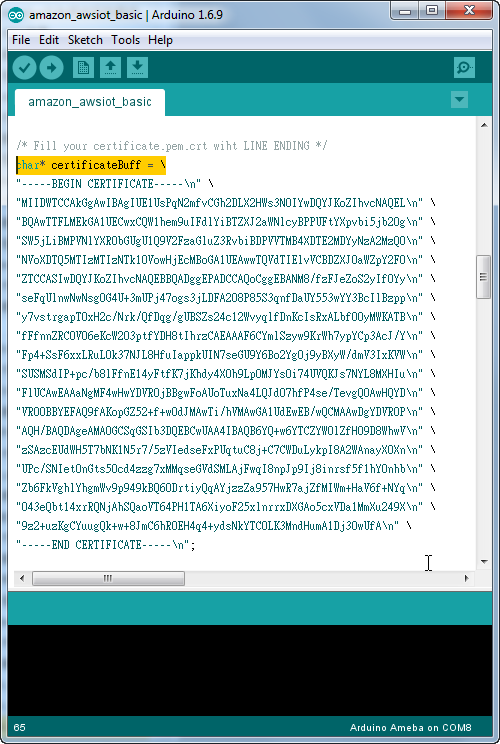
And adjust the format of the private key in the same way, to add certificate:
Then the modification of sample code is done.
- Compile and run
Compile and upload the sample code to Ameba and press the reset button, open the serial monitor: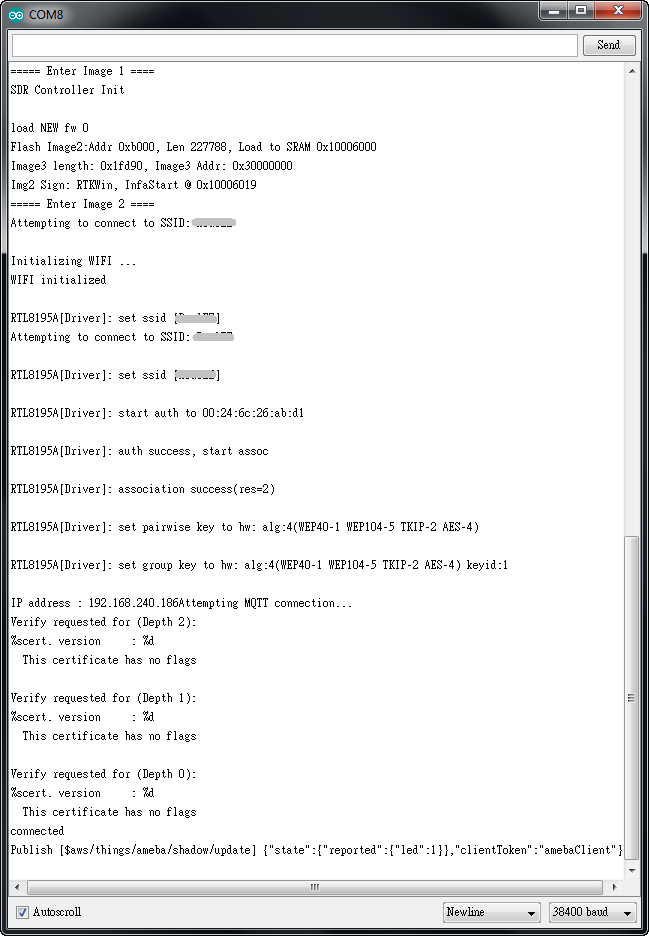
From the log, you can see Ameba does the following actions:
1. First, connect to AP and acquire an IP Address.
2. Ameba tries to connect to the MQTT Broker server. This step takes a little longer time to verify the certificate and establish the TLS connection. When the TLS connection is established, you can see “connected” is printed in the log.
3. Then Ameba will publish its current status using the topic: “$aws/things/ameba/shadow/update“, with payload in AWS IoT Shadow JSON format (ref. http://docs.aws.amazon.com/iot/latest/developerguide/thing-shadow-document-syntax.html).In this example, Ameba has only one attribute, which is led (as we created in AWS IoT Console). In the payload, we publish “led” state 1 to light the led. Now, check the thing information of “ameba” shown on the page we add the ameba thing after clicking the “Shadow”. The information of the ameba thing is updated and the “Last update” shows the last few minutes. You should see the published message in “Shadow status”.Now, check the thing information of “ameba” shown in the page we add ameba thing after click the “Shadow”. The information of ameba thing is updated and the “Last update” shows the last few minutes.
You should see the published message in “Shadow status”.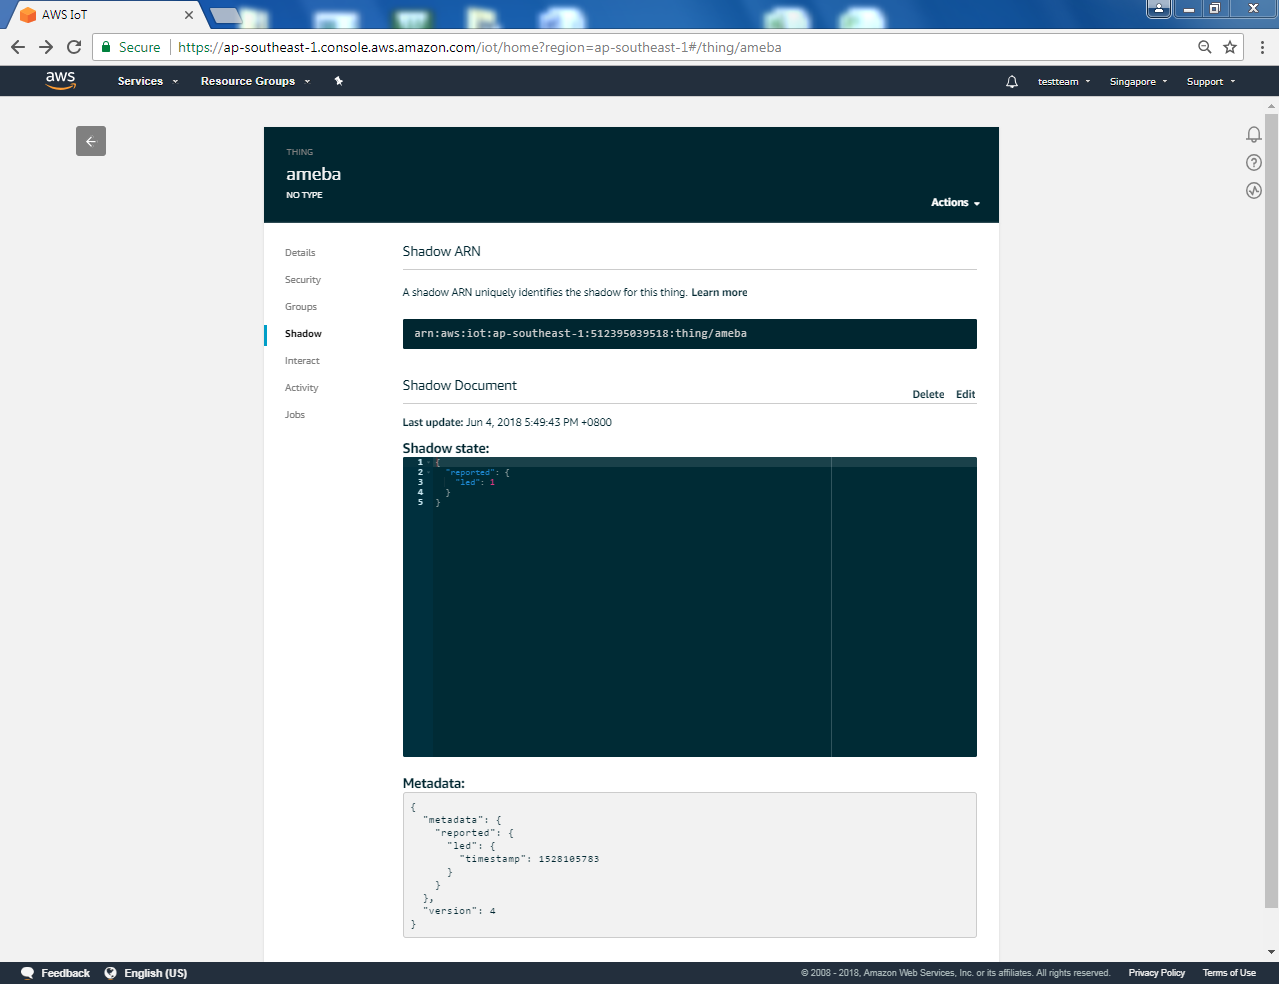
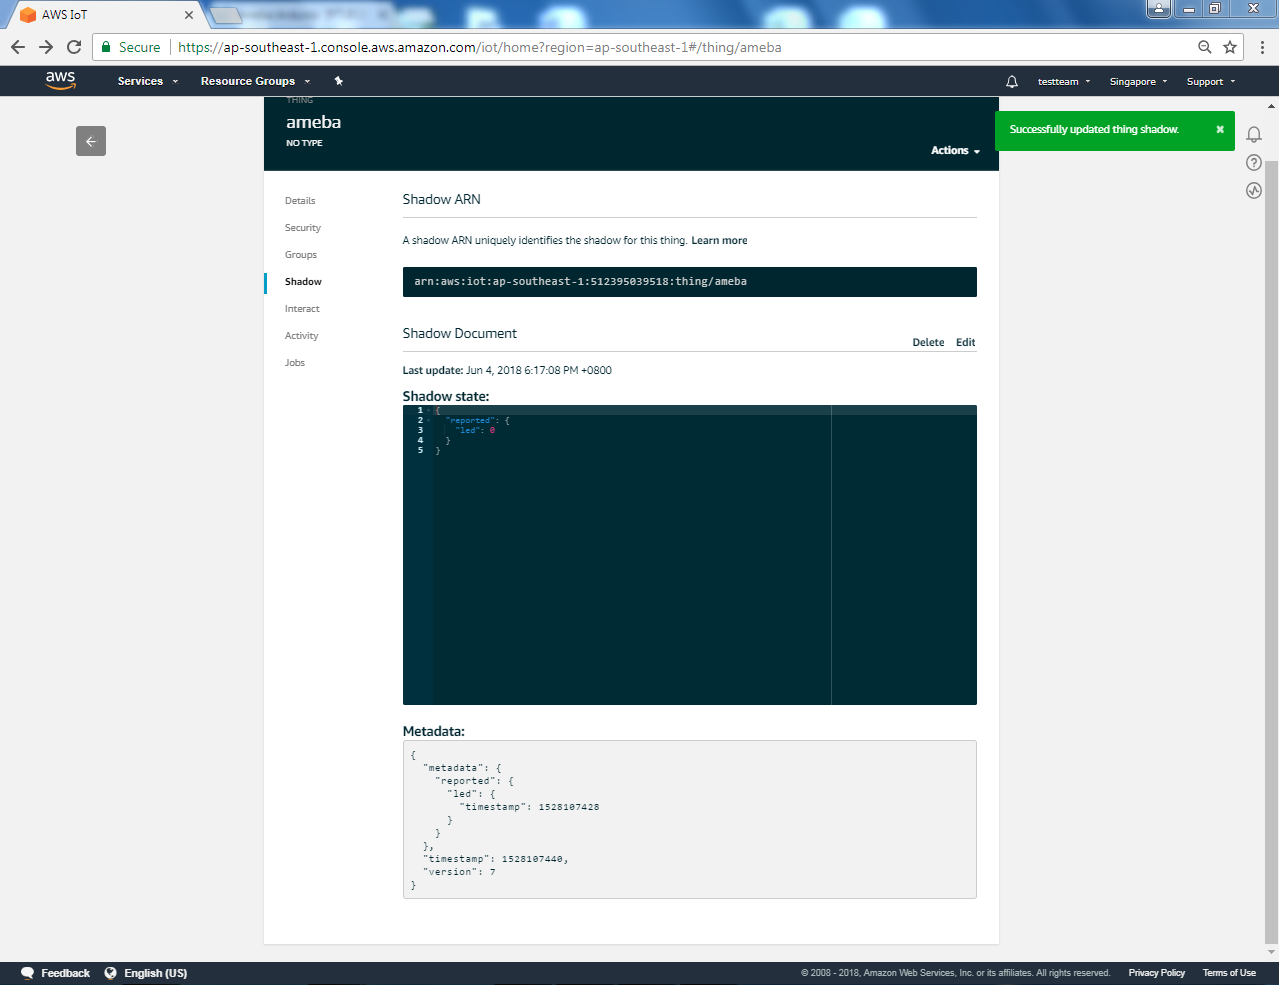
Now we try to turn off the led. Click “Edit”, then the “Shadow state:” field will be turned to a darker view:

the default content in the “Shadow state:” text field to the following codes:
{
  "desired": {
    "led": 0
  },
  "reported": {
    "led": 0
  }
}
It means that we want to change the status of “led” to 0, and click “Save”
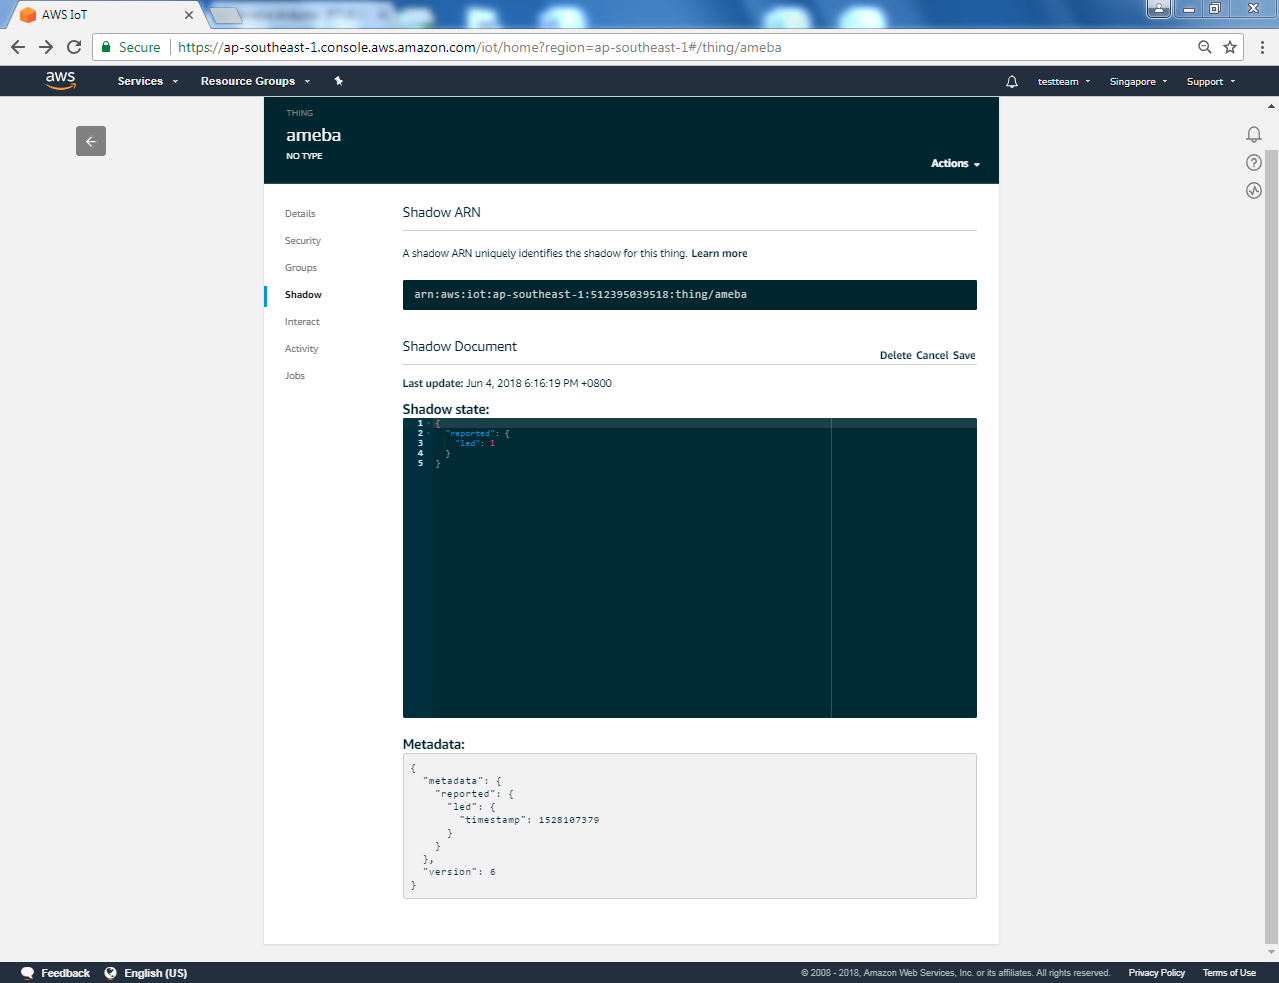
You will immediately see the “led” state is updated to 0, and there is another new update on “Successfully updated thing shadow” in the upper notification bar.
To confirm that Ameba has received the message, check the serial monitor.
1. You can find “Message arrived” with the topic “$aws/things/ameba/shadow/update/accepted”, its content is the content we enter in the “Shadow State” text field in AWS IoT Console.
2. When Ameba receives the message and found that the “led” state is changed to 0, it turns off the led and publishes a new state.
3. Receive another message with the topic “$aws/things/ameba/shadow/update/delta”.
4. Finally, Ameba receives the message from MQTT Broker with the topic “$aws/things/ameba/shadow/update/accepted” in response to the latest publish.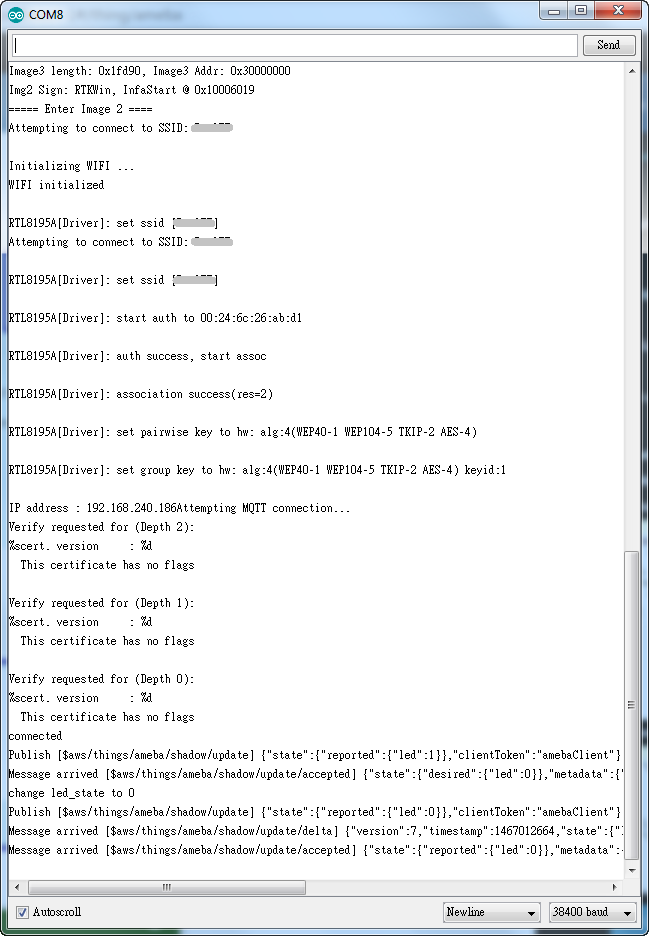
Here, this example is finished. We learned to use AWS IoT console, set up TLS certificate and MQTT Broker, and use AWS IoT Shadow to retrieve and update the status of ameba. For more information, please check detailed documents on the Amazon website: http://docs.aws.amazon.com/iot/latest/developerguide/
Code Reference
This code adopts basic MQTT architecture. AWS IoT MQTT Broker Server and TLS certificate part can refer to previosu exmaple.
- The change led state in this example, we use the GPIO interface to control the led. We set led_pin to 10 and led_state to 1 by default in the sample code.
pinMode(led_pin, OUTPUT);
digitalWrite(led_pin, led_state);
- Connect to AP
Please refer to WiFi connection examples. - Set up certificate
Note that we use the WiFiSSLClient type of wifiClient:WiFiSSLClient wifiClient;
WiFiSSLClient inherits Client, so it can be the parameter of PubSublicant constructor
Next, set up TLS certificate required in connection.wifiClient.setRootCA((unsigned char*)rootCABuff); wifiClient.setClientCertificate((unsigned char*)certificateBuff, (unsigned char*)privateKeyBuff);
- Configure MQTT Broker server
Then MQTT PubClient set MQTT Broker server to connectclient.setServer(mqttServer, 8883); client.setCallback(callback);
Note that normally the MQTT using TLS protocol uses port 8883.
- Connect to MQTT Broker server
In loop(), call reconnect() function and try to connect to MQTT Broker server and do the certificate verification.while (!client.connected()) { - Subscribe & Publish
Next, subscribe to topics.for (int i=0; i<5; i++) { client.subscribe(subscribeTopic[i]); }There are some common topics:
“$aws/things/ameba/shadow/update/accepted”,
“$aws/things/ameba/shadow/update/rejected”,
“$aws/things/ameba/shadow/update/delta”,
“$aws/things/ameba/shadow/get/accepted”,
“$aws/things/ameba/shadow/get/rejected”
Related documentation:
http://docs.aws.amazon.com/iot/latest/developerguide/thing-shadow-data-flow.html
Then publish current status:sprintf(publishPayload, "{\"state\":{\"reported\":{\"led\":%d}},\"clientToken\":\"%s\"}", led_state, clientId); client.publish(publishTopic, publishPayload); - Listen to topic and make response
In the callback function, we listen to the 5 subscribed topics and check if there is messages of “/shadow/get/accepted“:if (strstr(topic, "/shadow/get/accepted") != NULL) {If there is, the message is from the control side. If the attribute state in the message is different from current state, publish the new state.
updateLedState(desired_led_state);
