Preparation
- Ameba x 1
- Logitech C170 web cam x 1
- Micro USB OTG adapter x 1
Example
http://www.logitech.com/en-in/product/webcam-c170
The default video streaming format of Ameba is Motion JPEG 320 x 240, users can adjust the parameters according to the need.
Detailed wiring is as below. Connect Micro USB OTG to Ameba, then connect the USB camera.
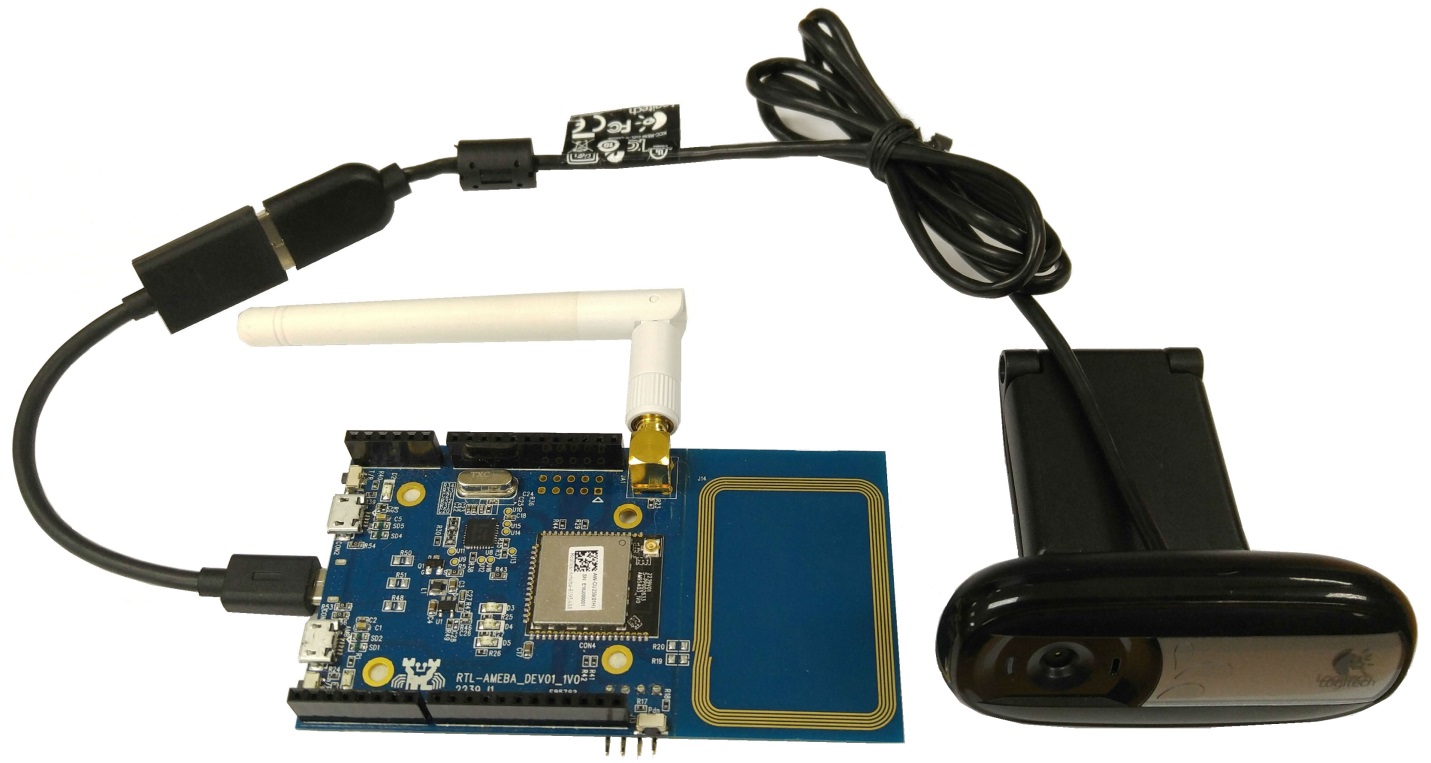
Note that in the above wiring diagram, the webcam uses Ameba as power source. If the power supply of Ameba is not sufficient, this would cause the camera unable to work. That is, you have to make sure the power source provides sufficient power to Ameba, or you have to choose the USB OTG which can be connected to external power source.
Next, open the example in “File” -> “Examples” -> “AmebaUVC” -> “uvc_basic”
In the sample code, please fill in the SSID and password of the network you want to connect with. Then upload it to Ameba, and press reset.
Then open the Serial Monitor: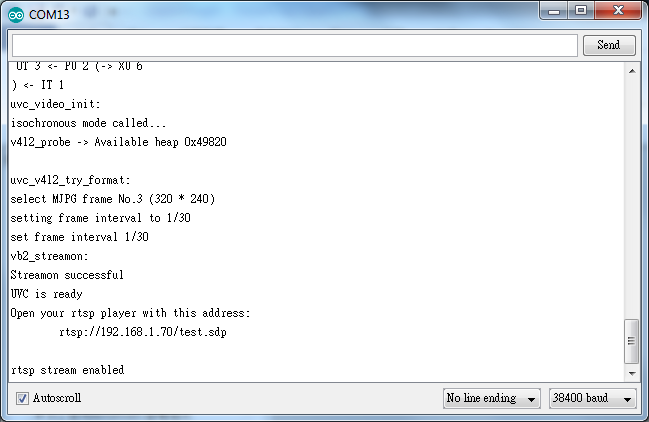
You can see that we are using the default MJPG (Motion JPEG) with resolution 320 * 240 and frame rate 30. After the settings are done, the log message prints the link for the streaming: rtsp://192.168.1.70/test.sdp
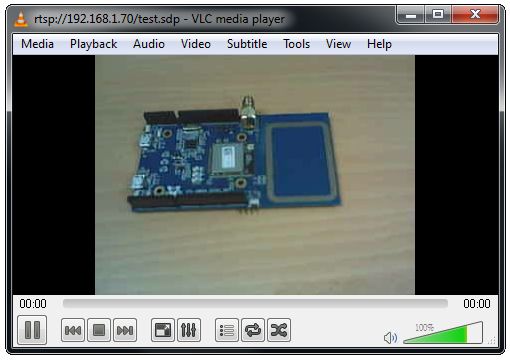
Next, we use video player supports video streaming, e.g., VLC Player – http://www.videolan.org/vlc/
Open VLC player, click “Media” -> “Open Network Stream”
Fill in the link of the streaming, (Please make sure the computer and Ameba are connected to the same wireless AP)
VLC also provides application for smartphone: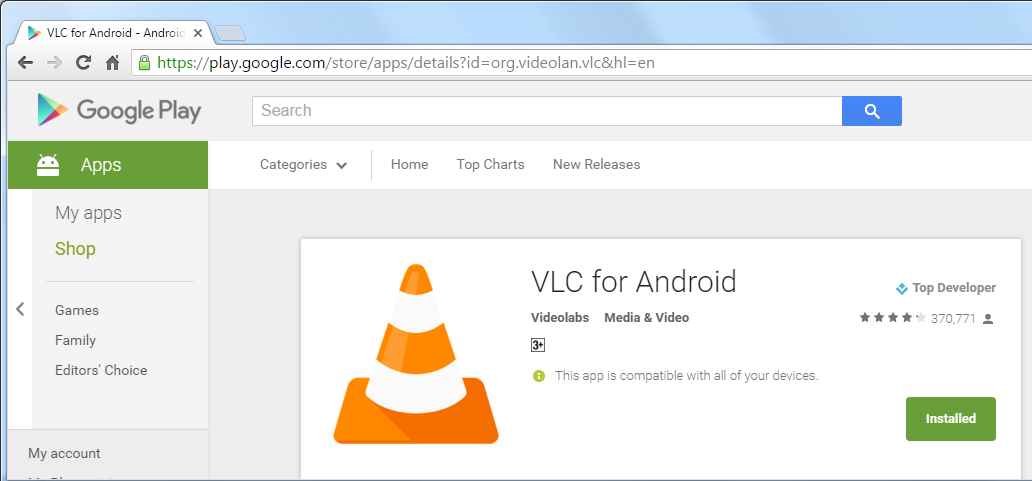
Click “Stream”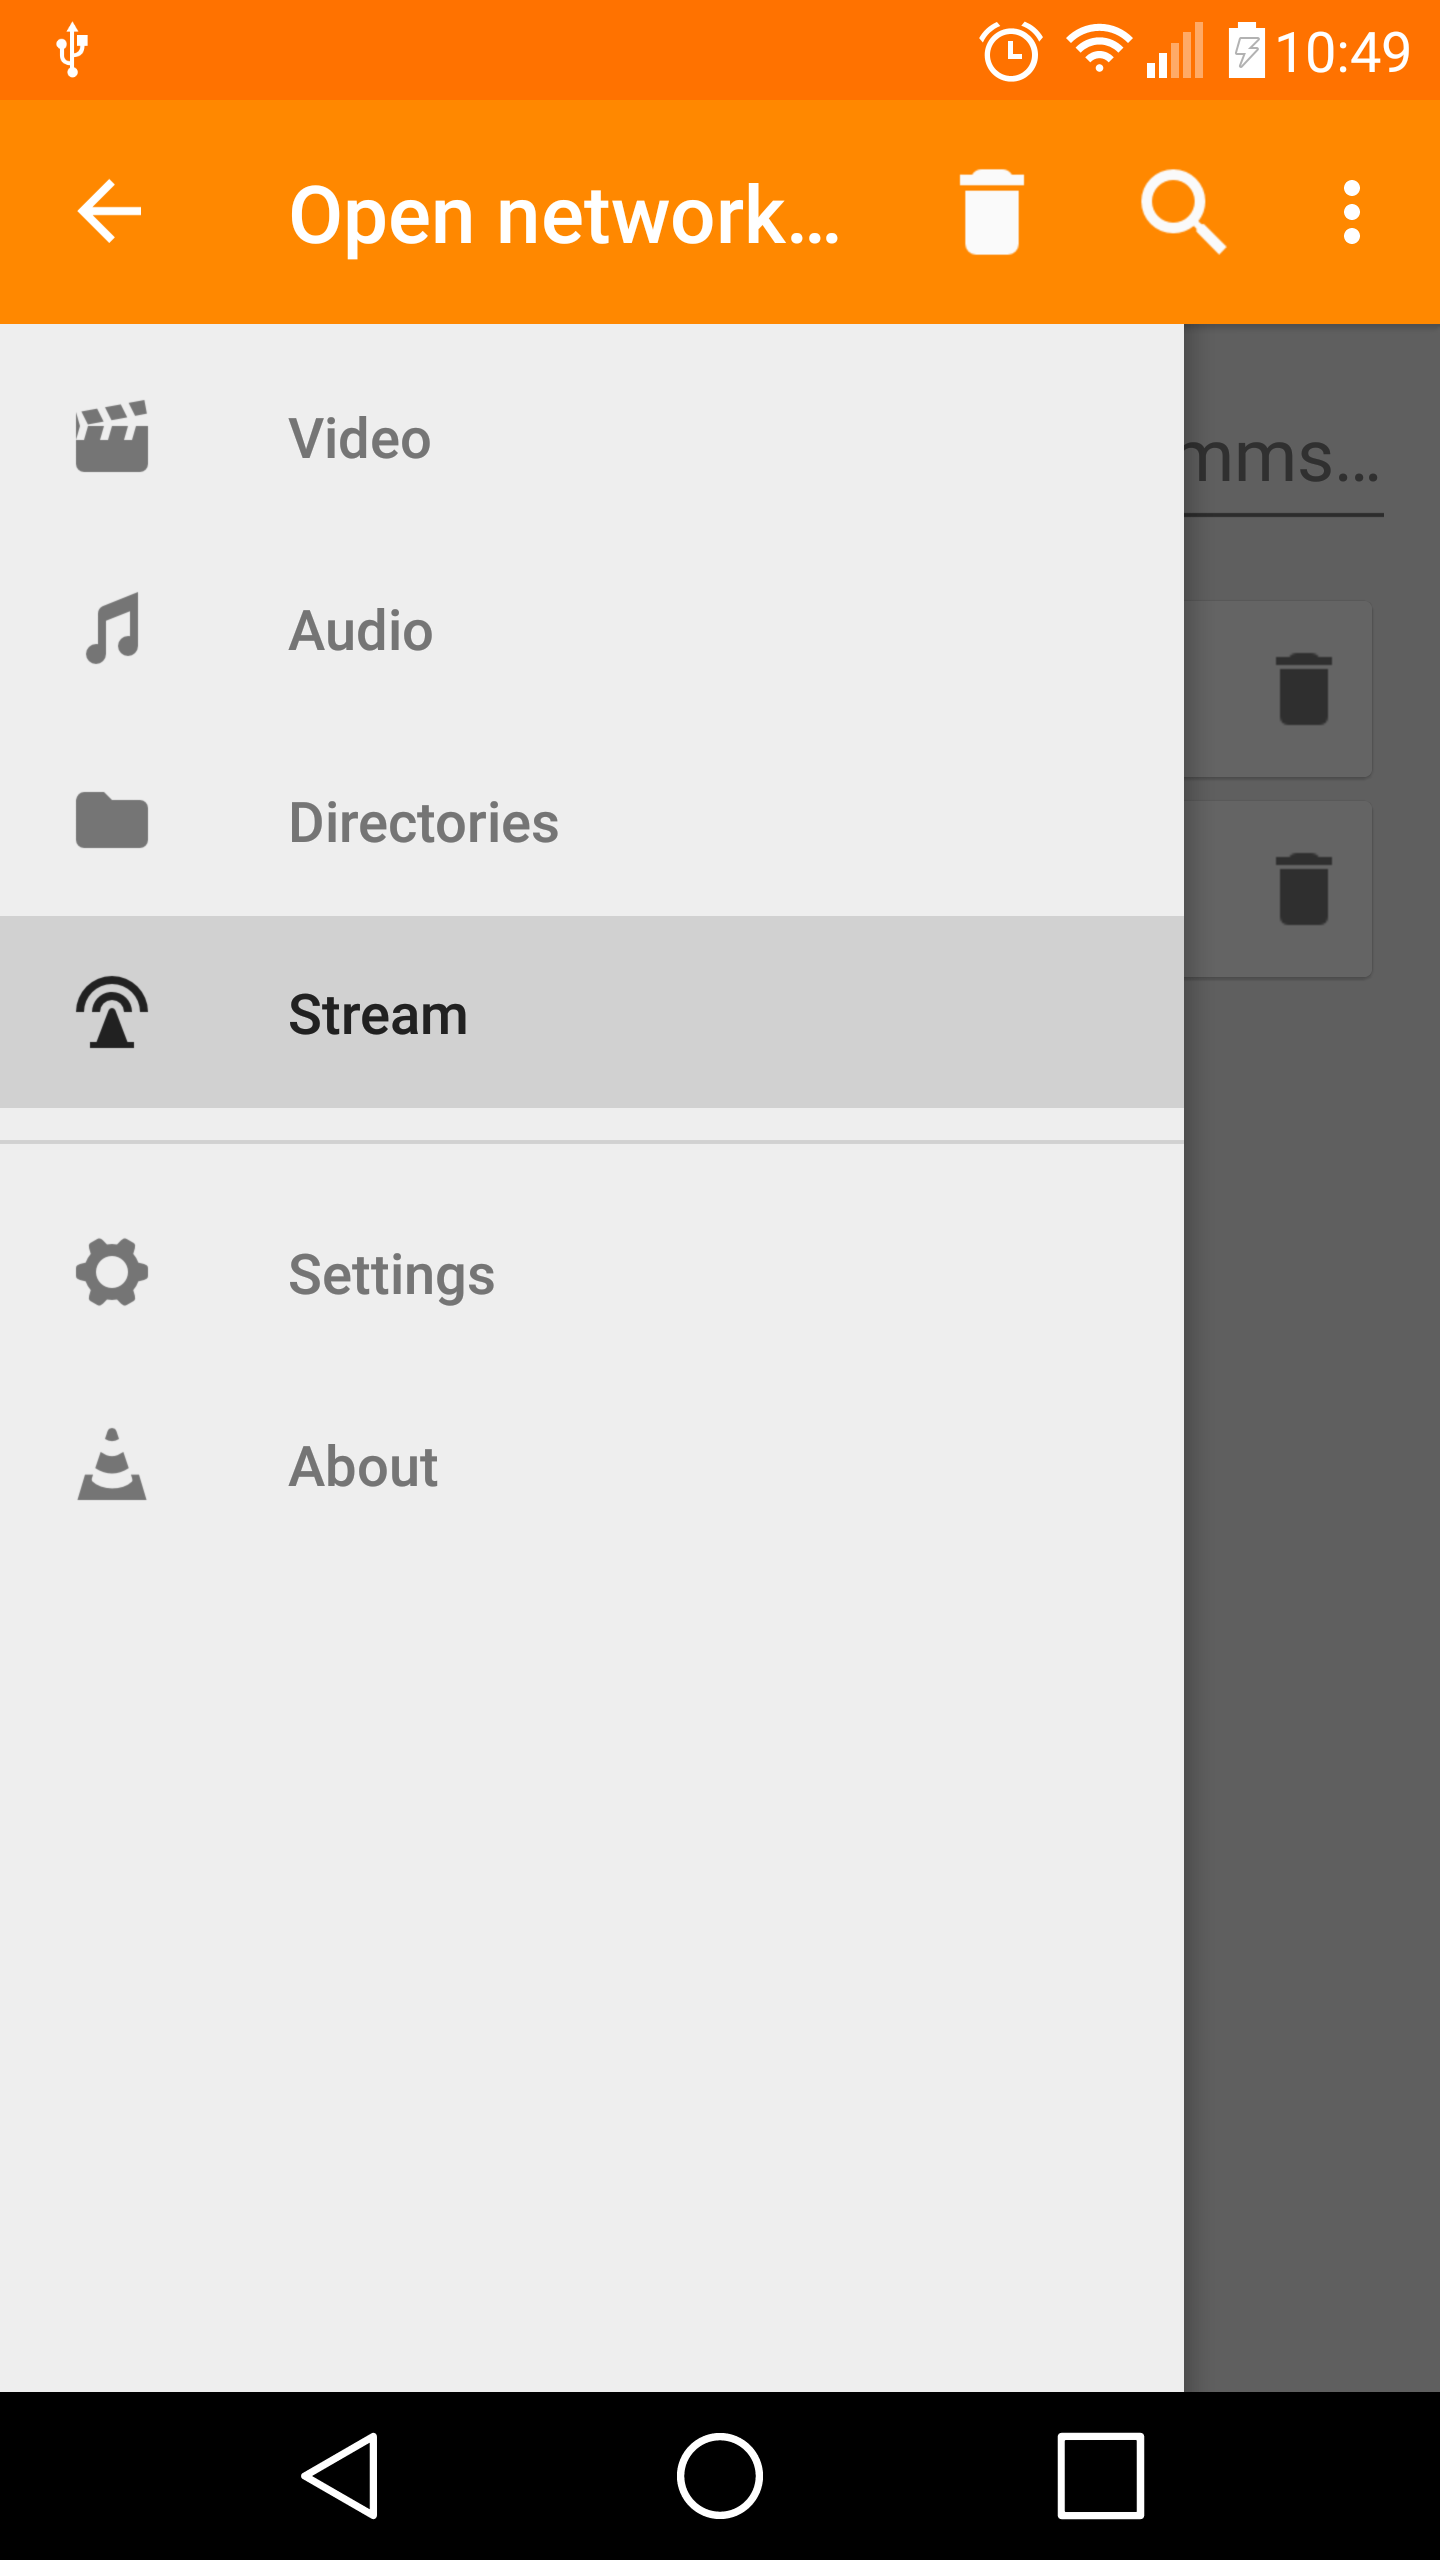
Enter the link, and make sure the smartphone and Ameba are connected to the same network.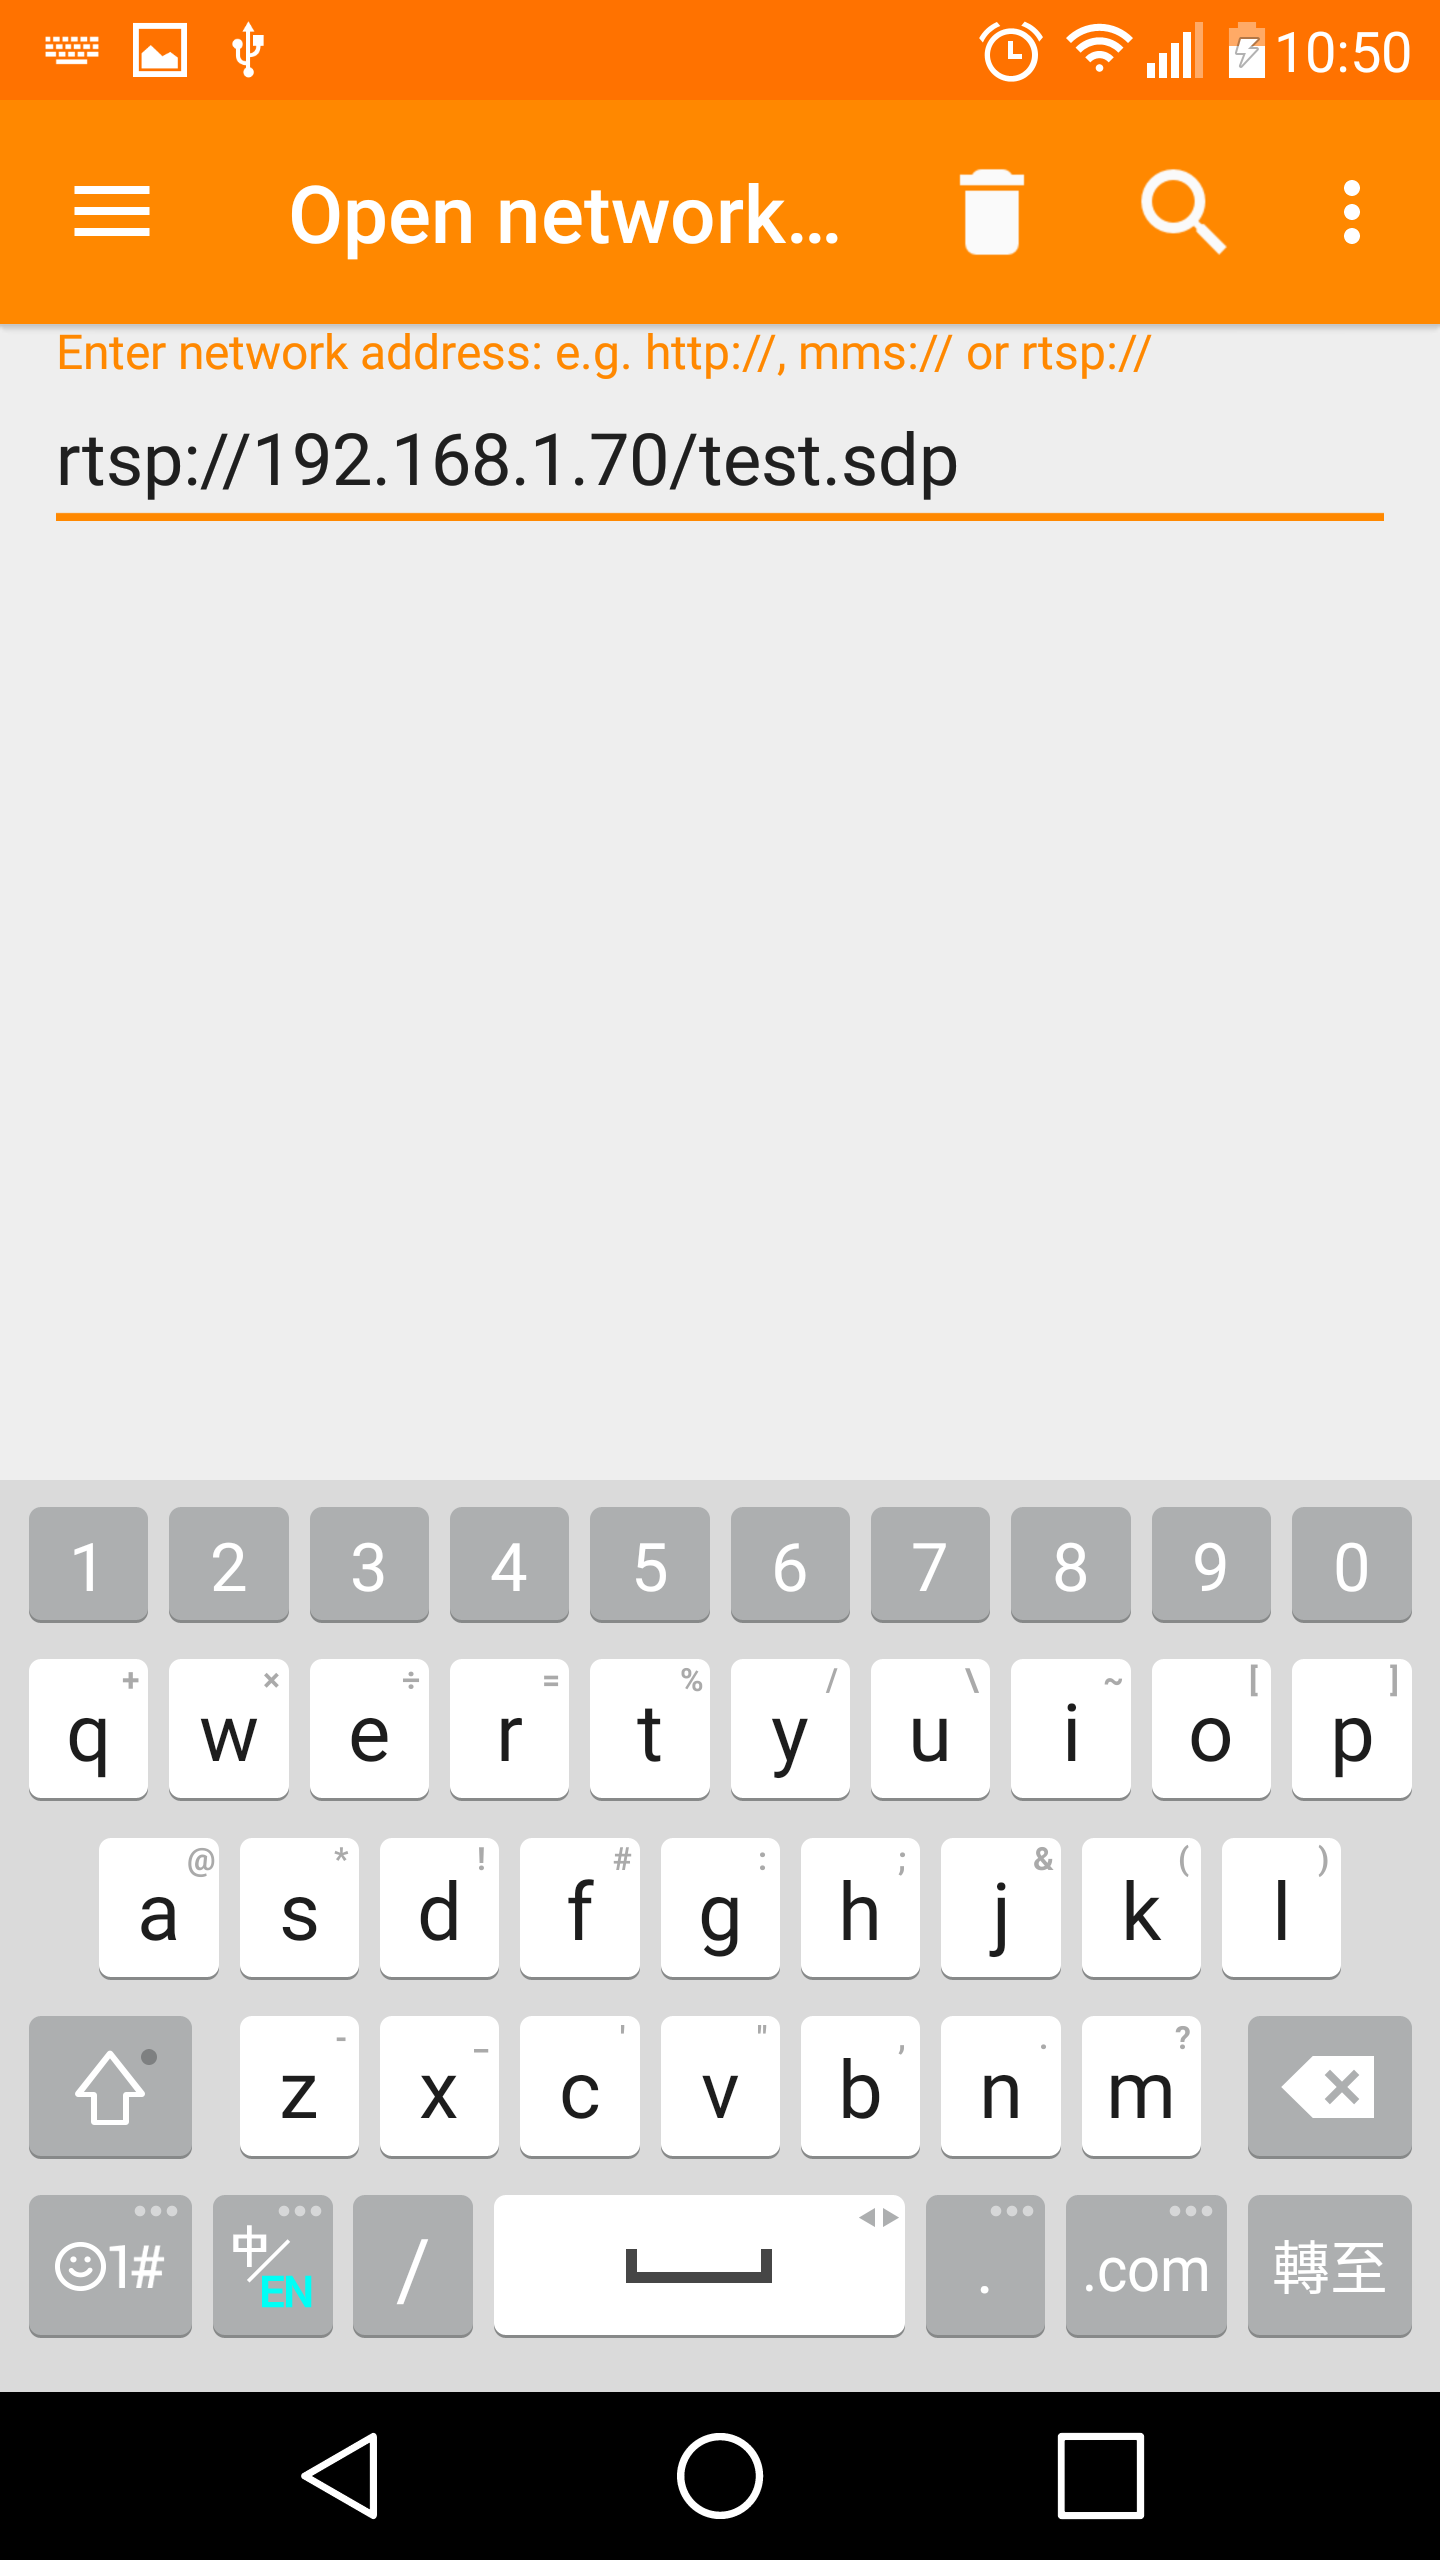
Code Reference
then begin UVC (use default setting):
UVC.begin();Or you can try other resolution, first argument is the encoding format (here we use UVC_MJPEG), the second and the third argument stands for the desired resolution, we will use 640 * 480, the fourth argument is the frame rate, and the last one is the compression ratio://UVC.begin(UVC_MJPEG, 640, 480, 30, 0);
Next, wait for UVC initialization:
  // wait until UVC is ready for streaming
  while (!UVC.available()) {
    delay(100);
  }
Finally, prints the link for the streaming.
