Download the Ameba customized version of TensorFlow Lite for Microcontrollers library at https://github.com/ambiot/ambd_arduino/tree/master/Arduino_zip_libraries.
Follow the instructions at https://github.com/ambiot/ambd_arduino/tree/master/Arduino_zip_libraries to install it.
Ensure that the patch files found at https://github.com/ambiot/ambd_arduino/tree/master/Ameba_misc/ are also installed.
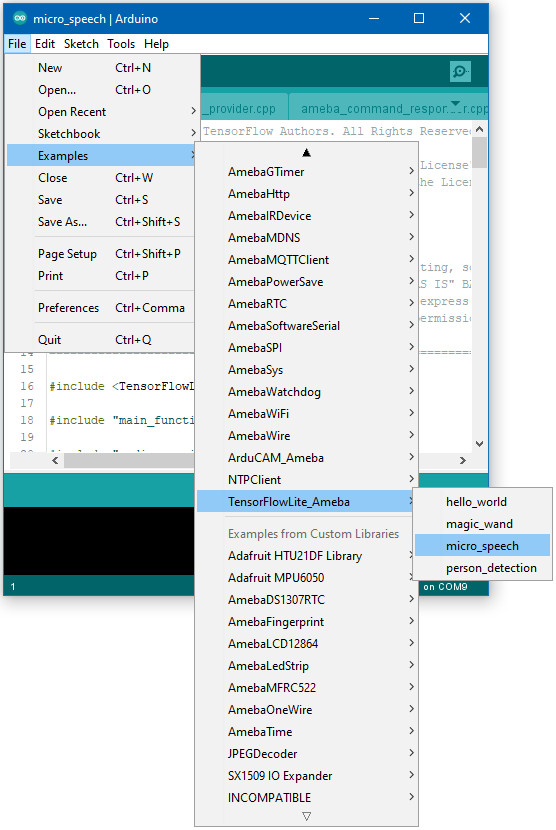
Open the example, “Files” -> “Examples” -> “TensorFlowLite_Ameba” -> “micro_speech”.
Upload the code and press the reset button on the Ameba board once the upload has completed.
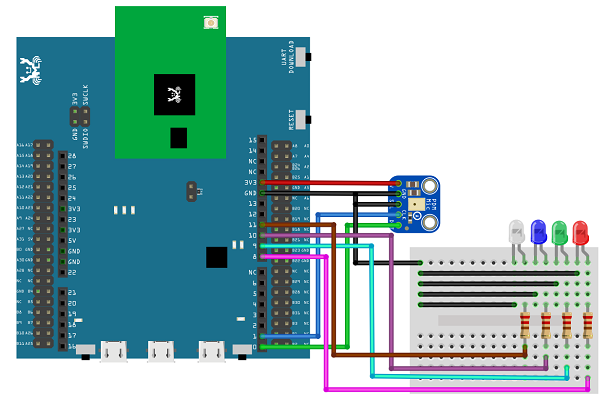
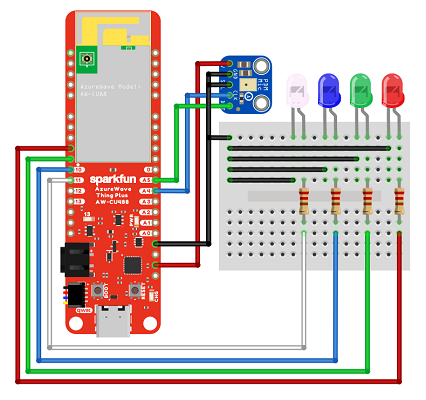
Once it is running, you should see one of the LEDs flashing, indicating that it is processing audio. Saying the word “yes” will cause the green LED to light up. Saying the word “no” will cause the red LED to light up. If the word is not recognized, the blue LED will light up.
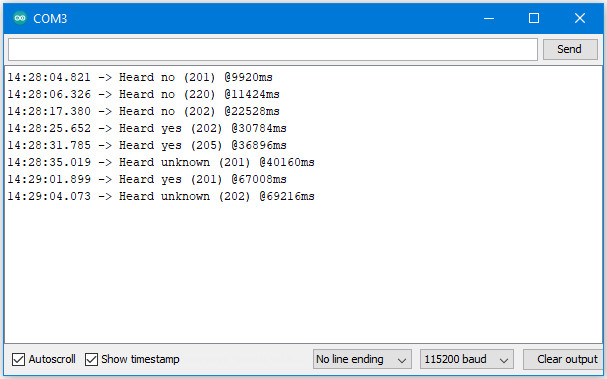
The inference results are also output to the Arduino Serial Monitor, which appears as follows:
If you are having trouble in getting the words recognized, here are some tips:
– Ensure that your surroundings are quiet with minimal noise.
– Experiment with varying the distance of the microphone, starting with it at arm’s length.
– Experiment with different tones and volume when saying the words.
– Depending on how you pronounce the words, the characteristics of the microphone used, getting one keyword recognized may be easier than the other.
Code Reference
More information on TensorFlow Lite for Microcontrollers can be found at: https://www.tensorflow.org/lite/microcontrollers
